PCG Framework Overview - Electric Dreams
In this tutorial, we’ll have a look at the PCG framework and how it’s used in the Electric Dreams sample
Install
Download and Install the Electric Dreams sample from the marketplace
Boost your framerate with DLSS plugin [Optional]
This is a resource intensive sample. If you have an RTX card, you can boost your framerate by 2x or even 4x using DLSS and FrameGen. The NVIDIA DLSS plugin is currently unavailable for 5.3, however, I have instructions on setting this up for 5.3.
If the DLSS plugin is still unavialable for 5.3 while you’re reading this, follow these instructions to install DLSS in 5.3
Setup
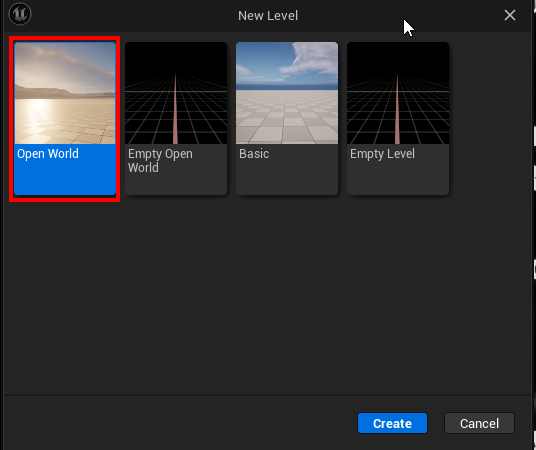
Load up the editor and create a new open world scene
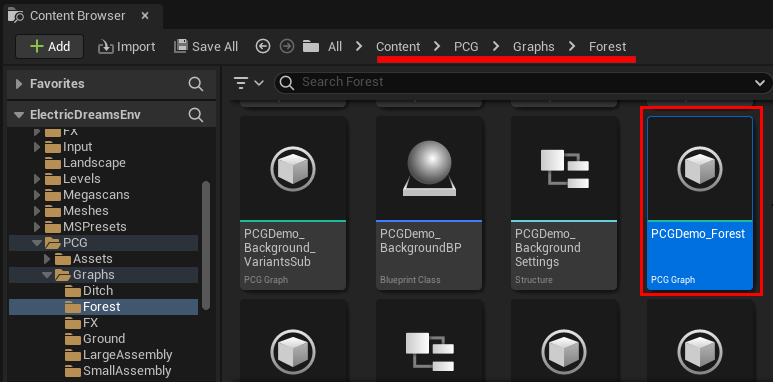
Forest PCG Graph
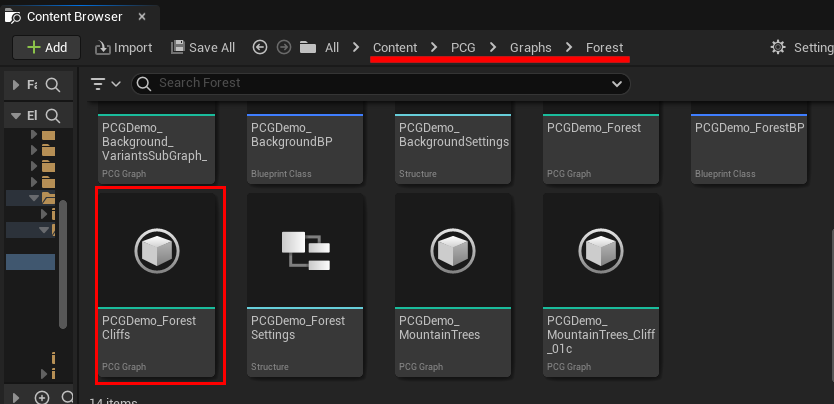
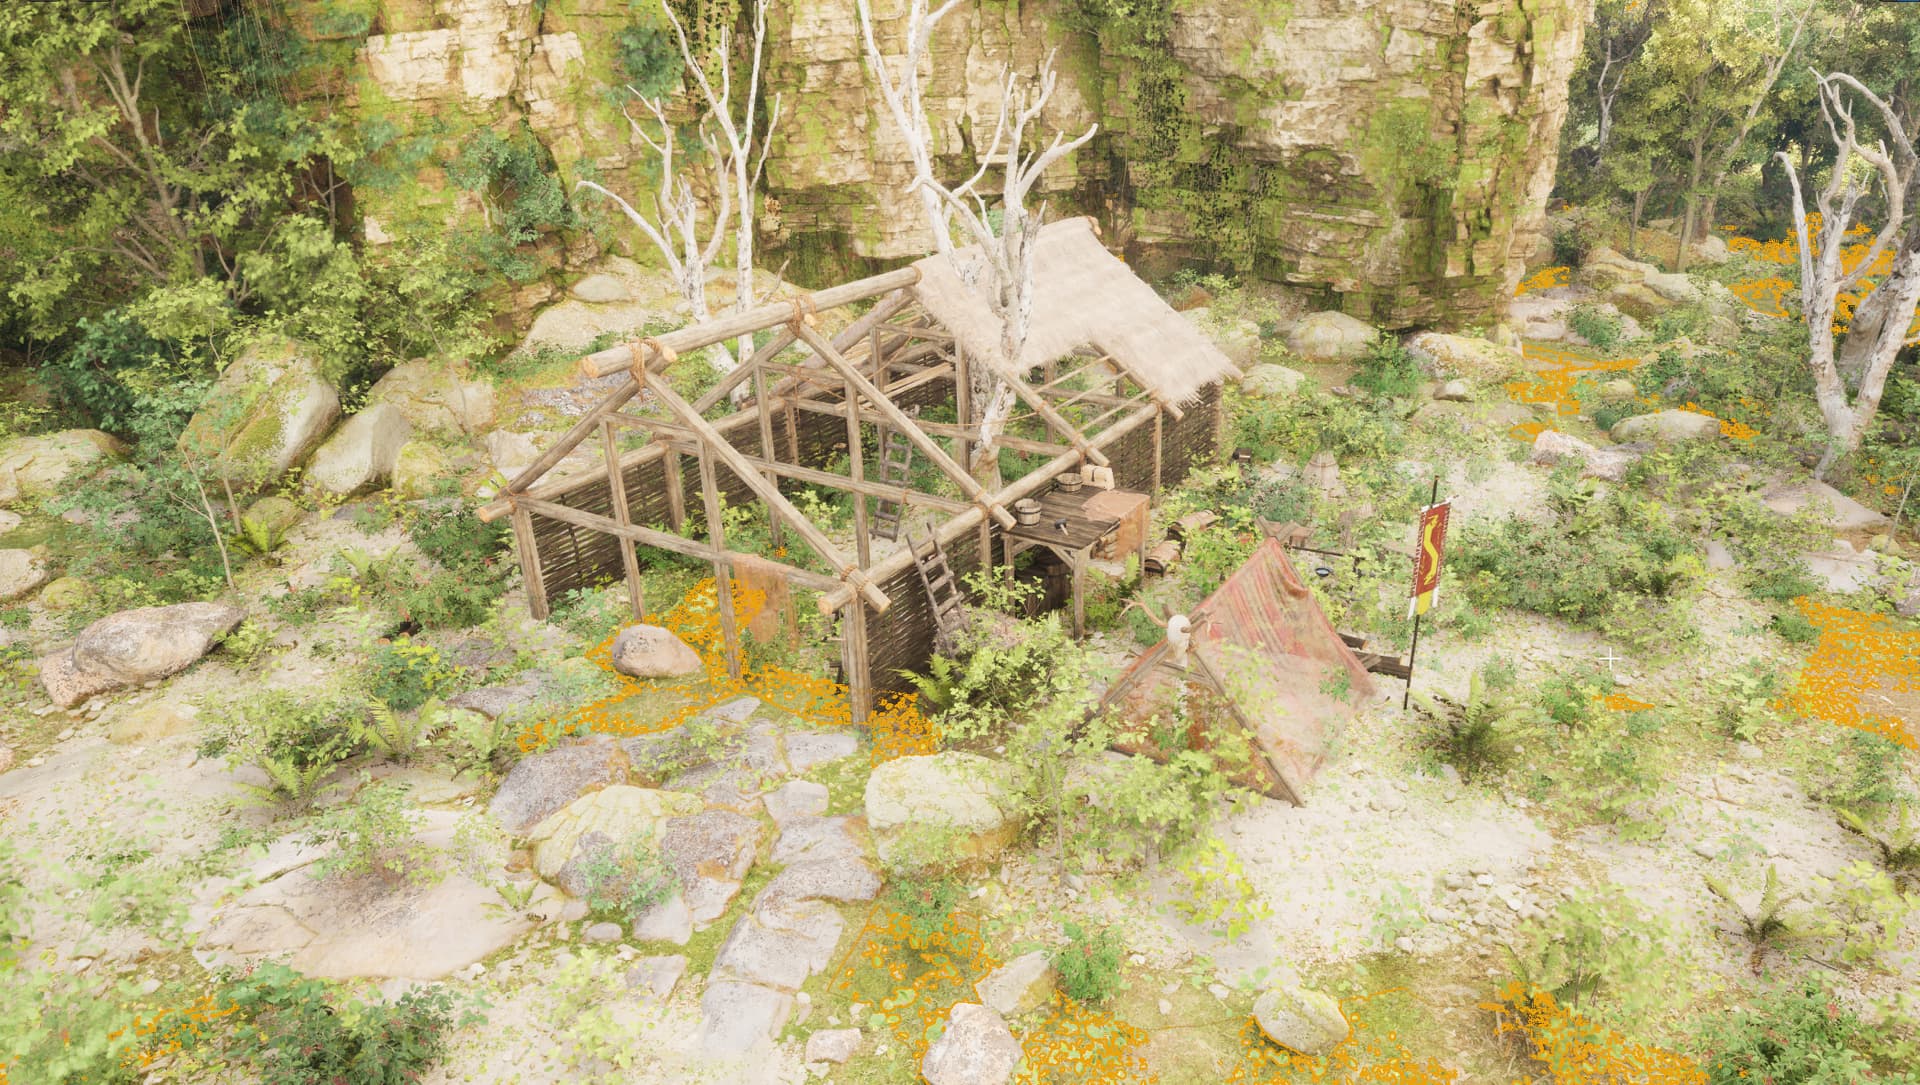
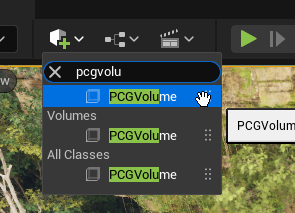
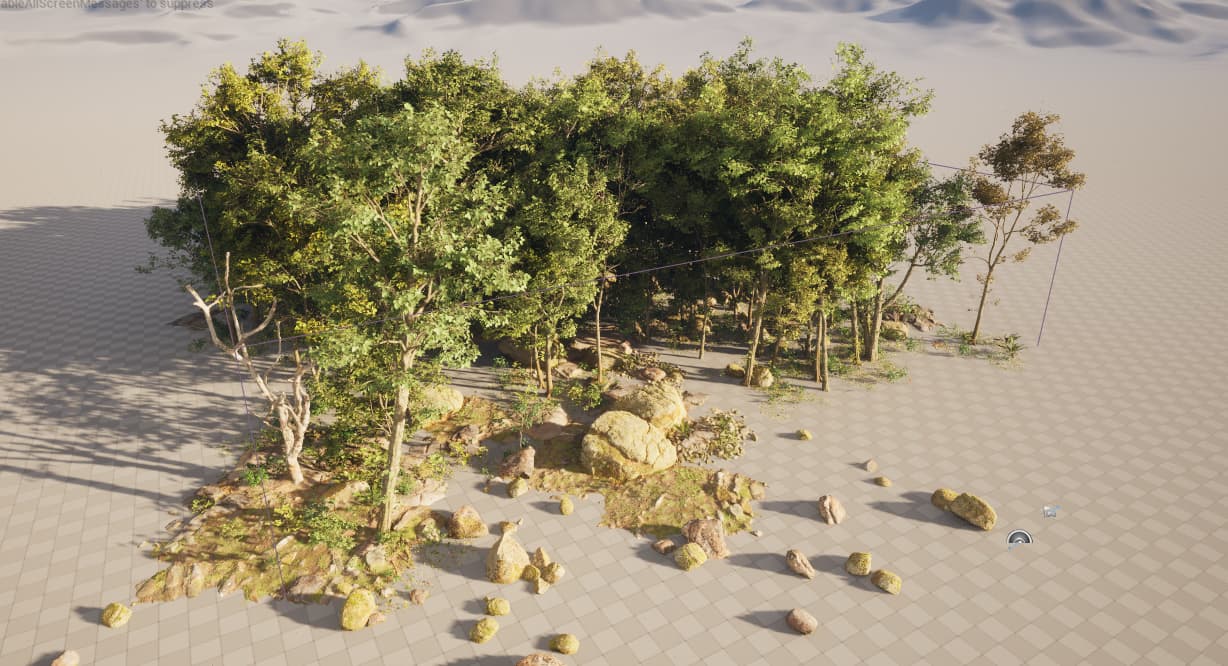
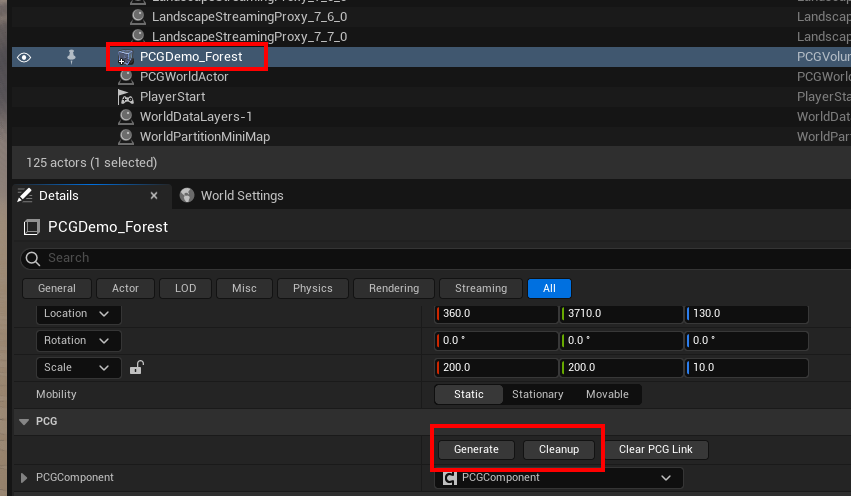
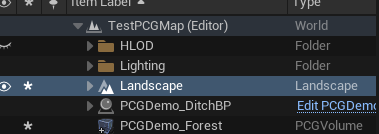
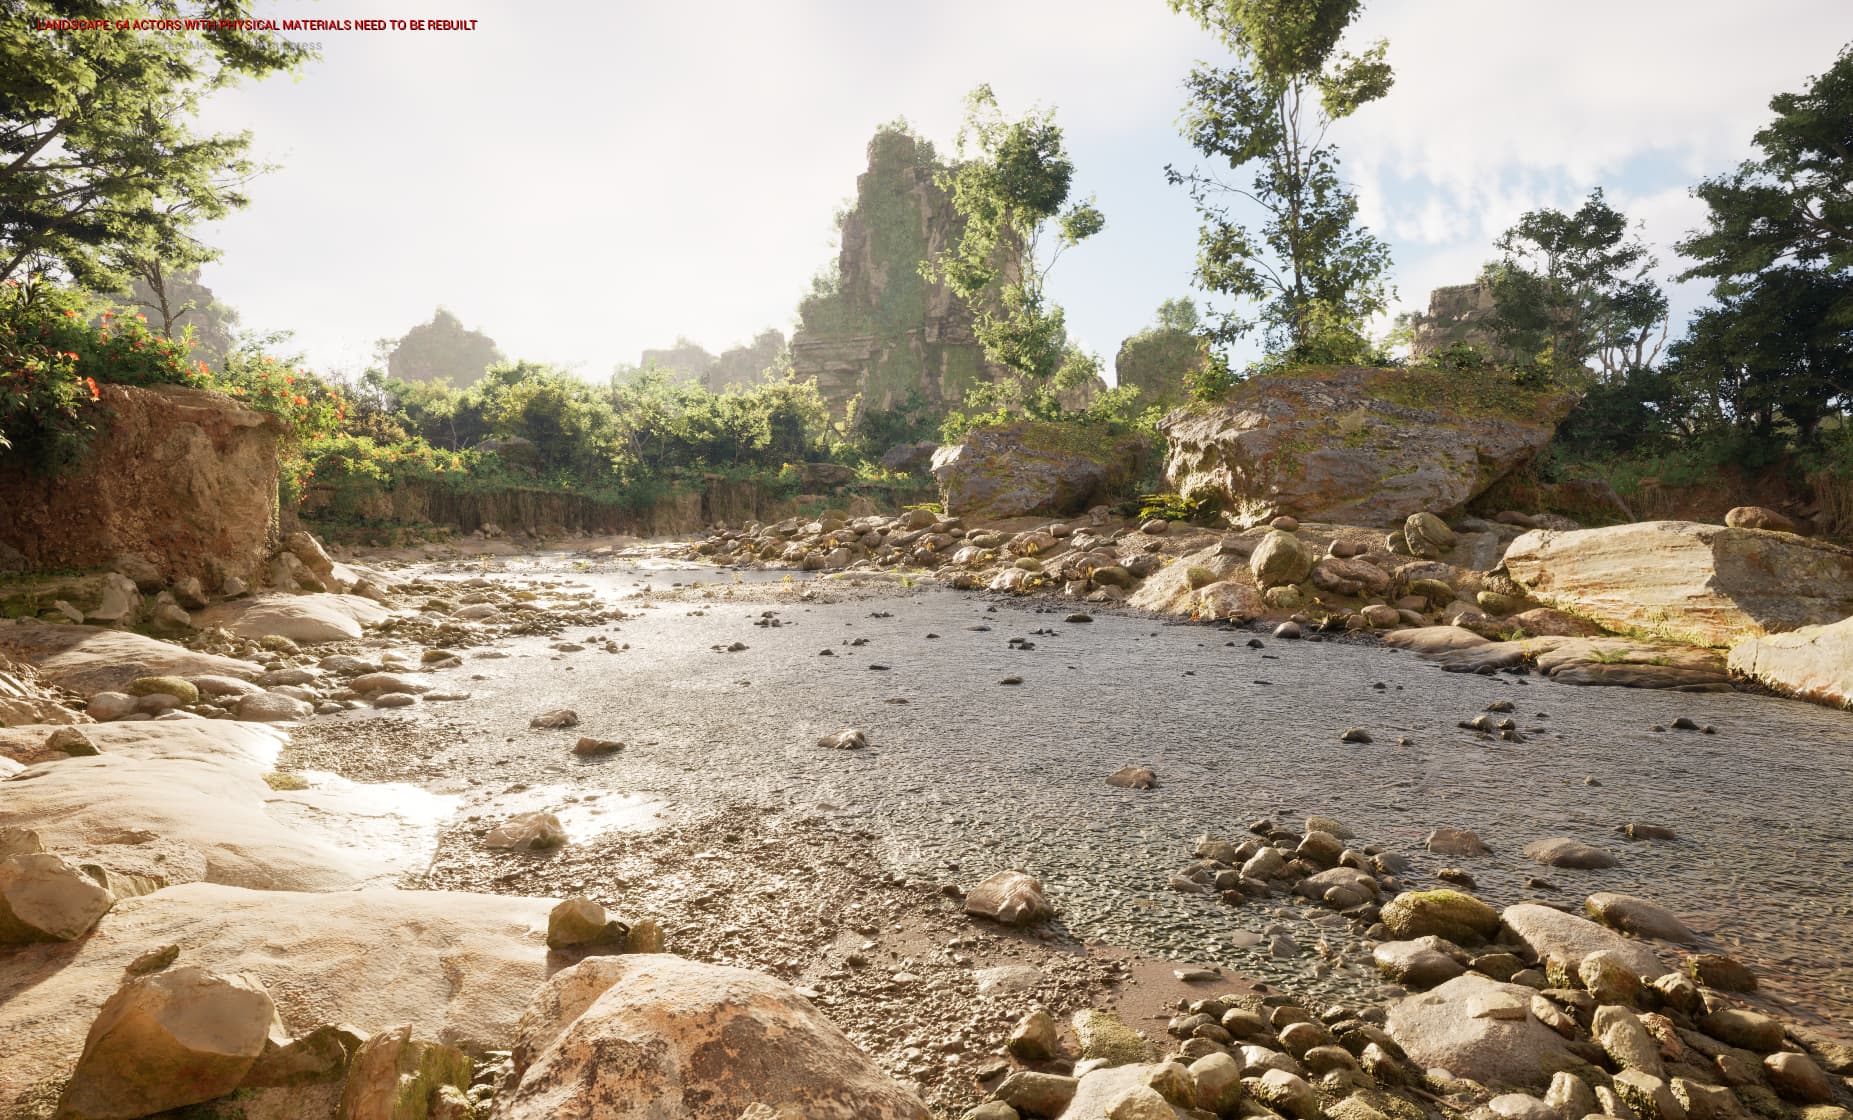
Navigate to Content/PCG/Graphs/Forest. There’s you’ll find a PCG Graph asset PCGDemo_Forest. Drag-Drop that on to the scene

When you drag-drop a PCG graph asset on to the scene ,the editor would spawn a PCG Volume and set this asset in that volume. Then it run this graph inside the volume and we get a nice forest
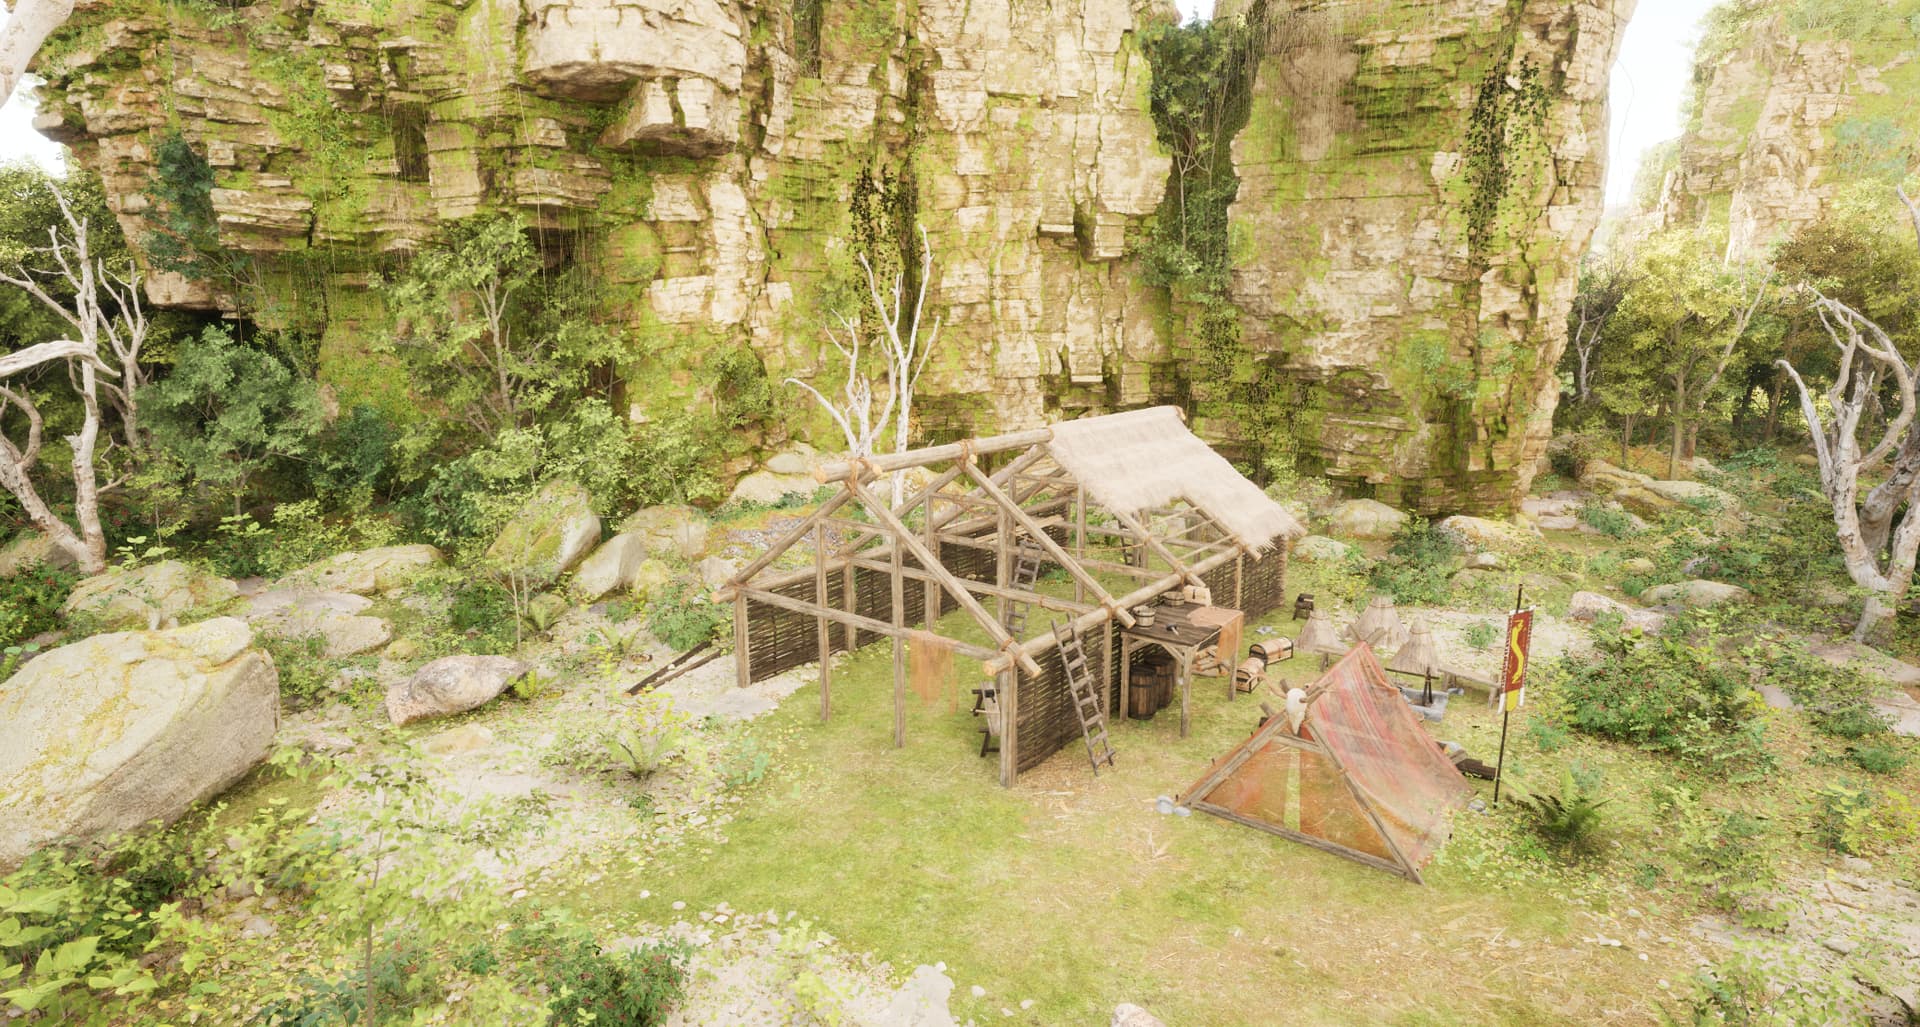
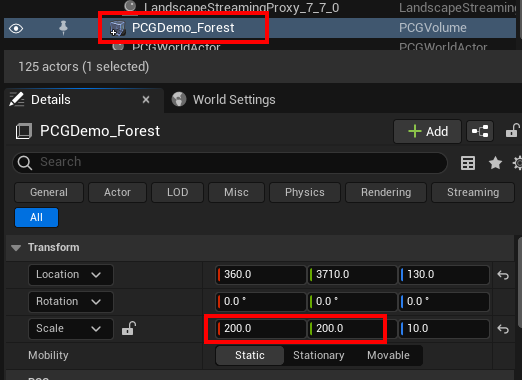
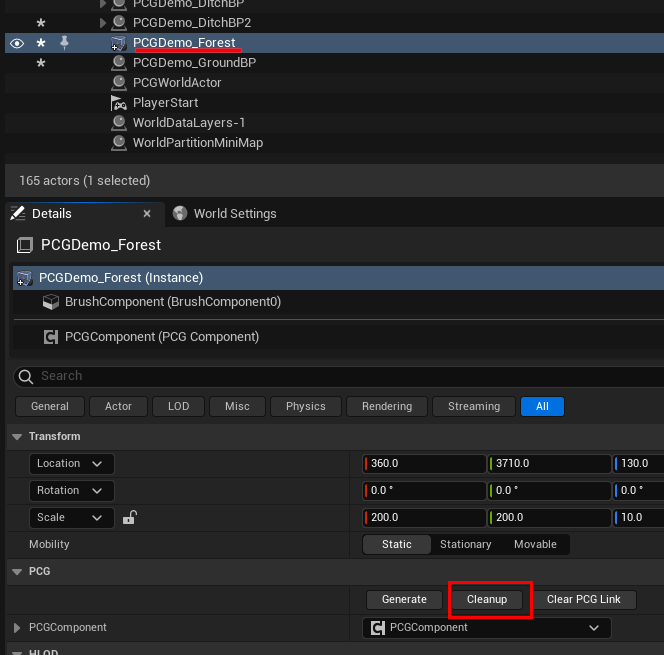
Select the PCG volume and increase the bounds of the volume to create a larger forest

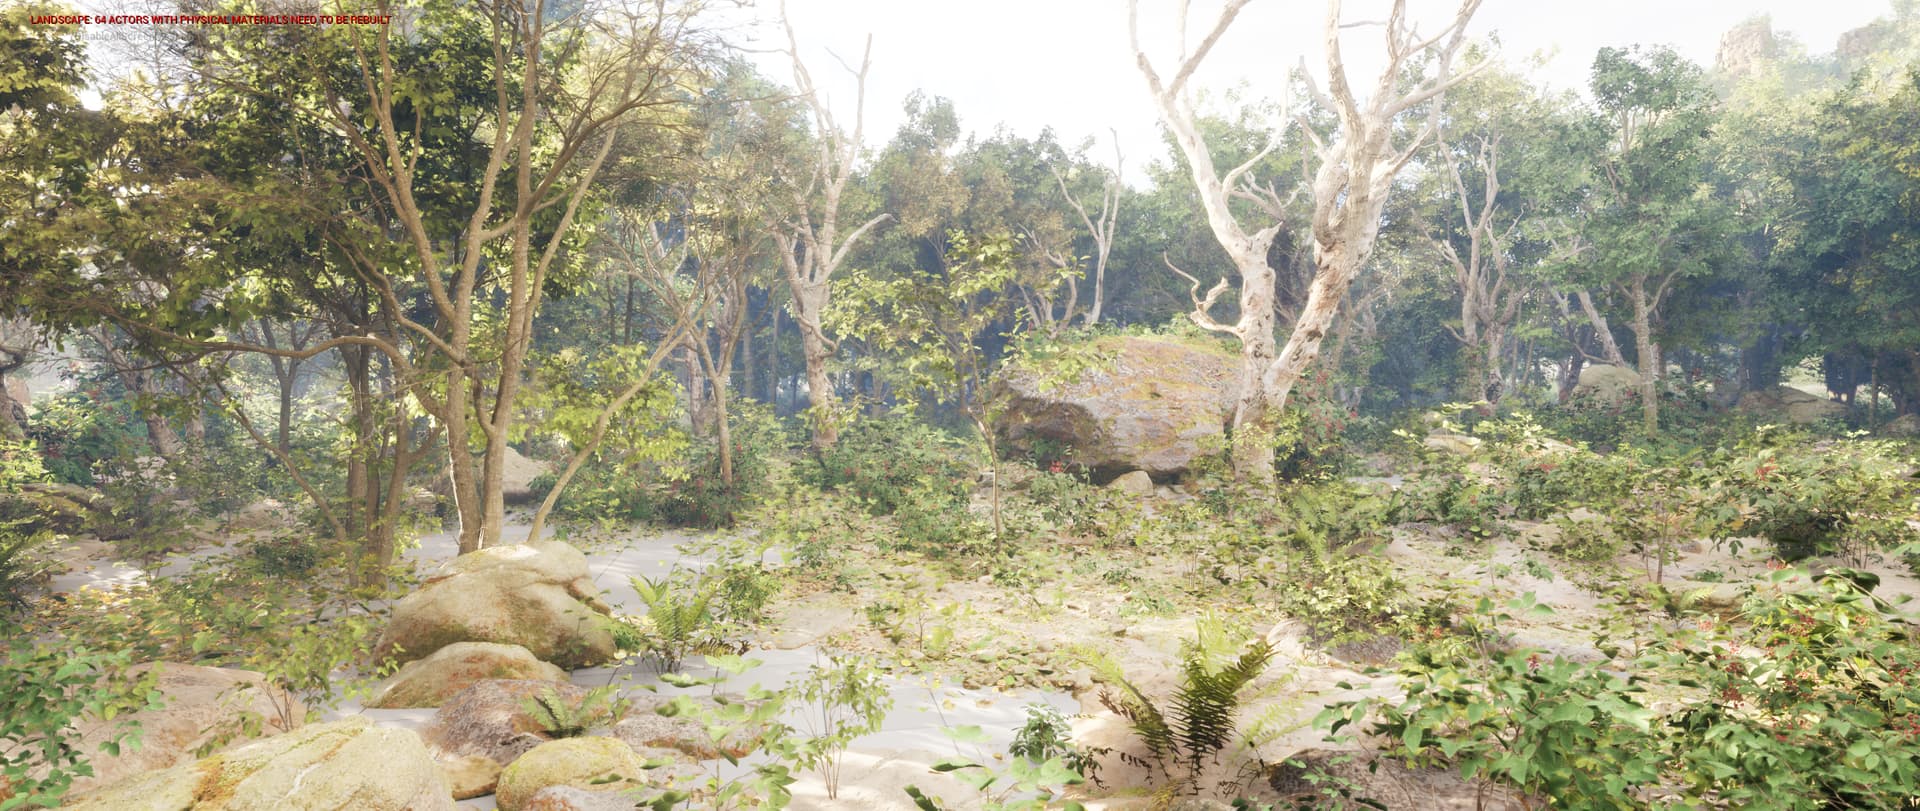
Select the PCG volume actor and click Cleanup to remove all spawned meshes. This is important if you are iterating and need to a clean rebuild. Click Generate to rerun the PCG graph and recreate the forest
Ditch PCG Blueprint
Cleanup the Forest PCG volume so the scene is empty.
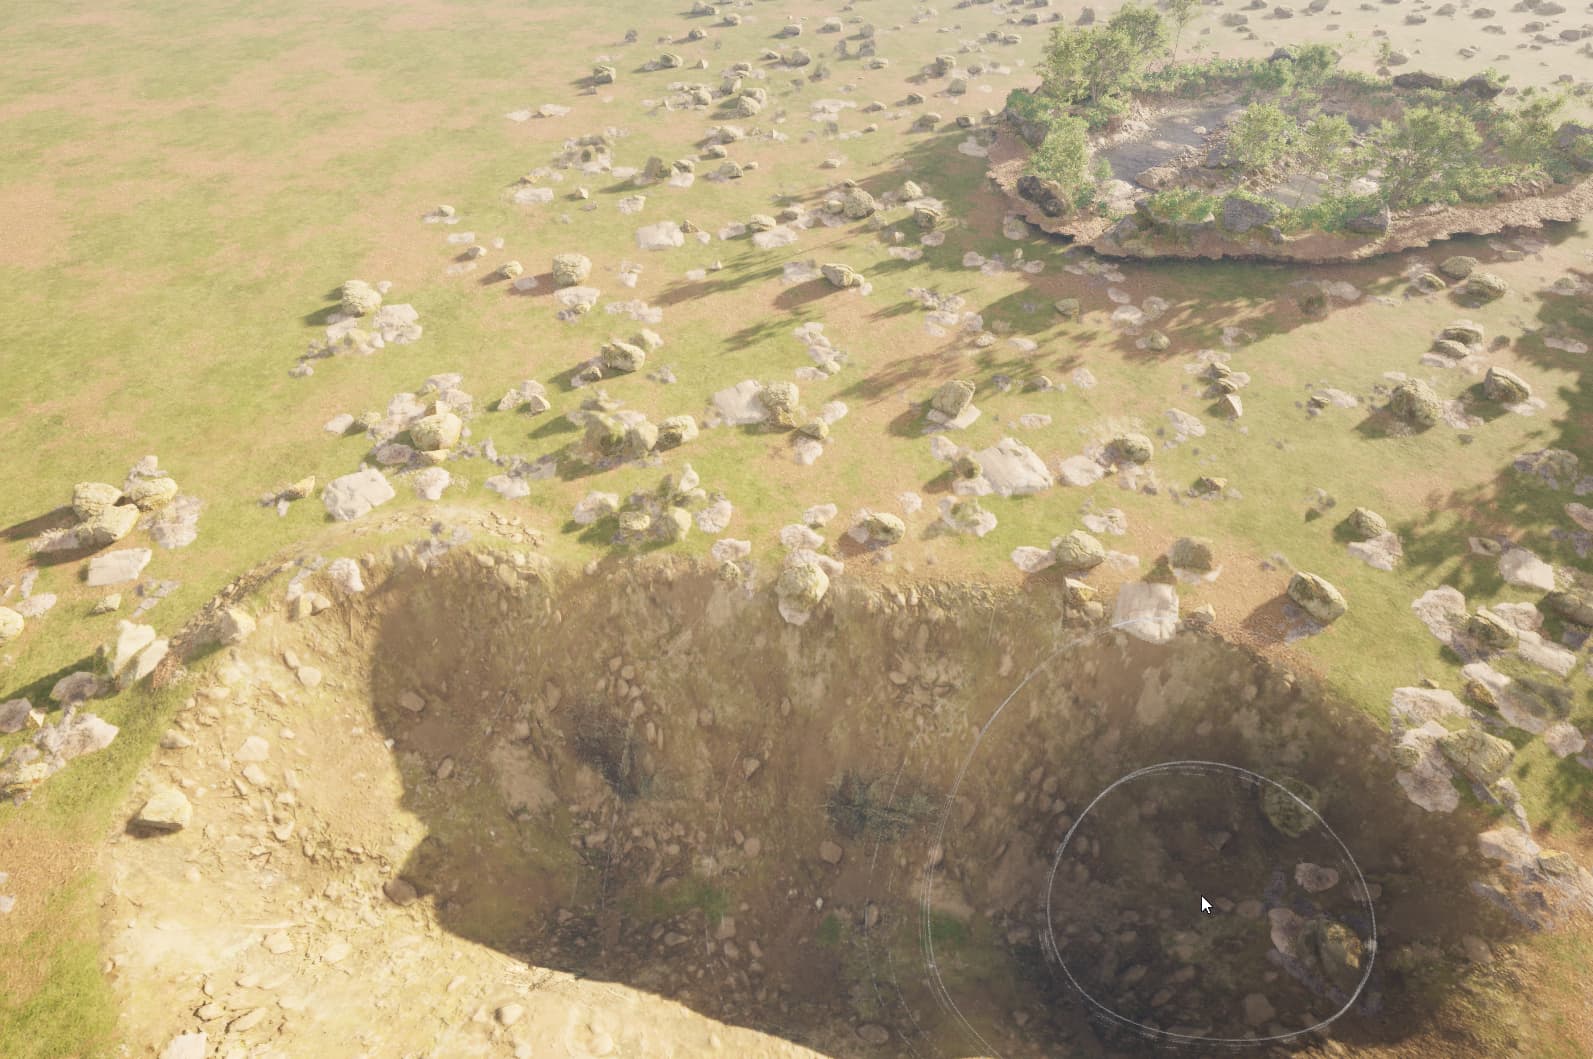
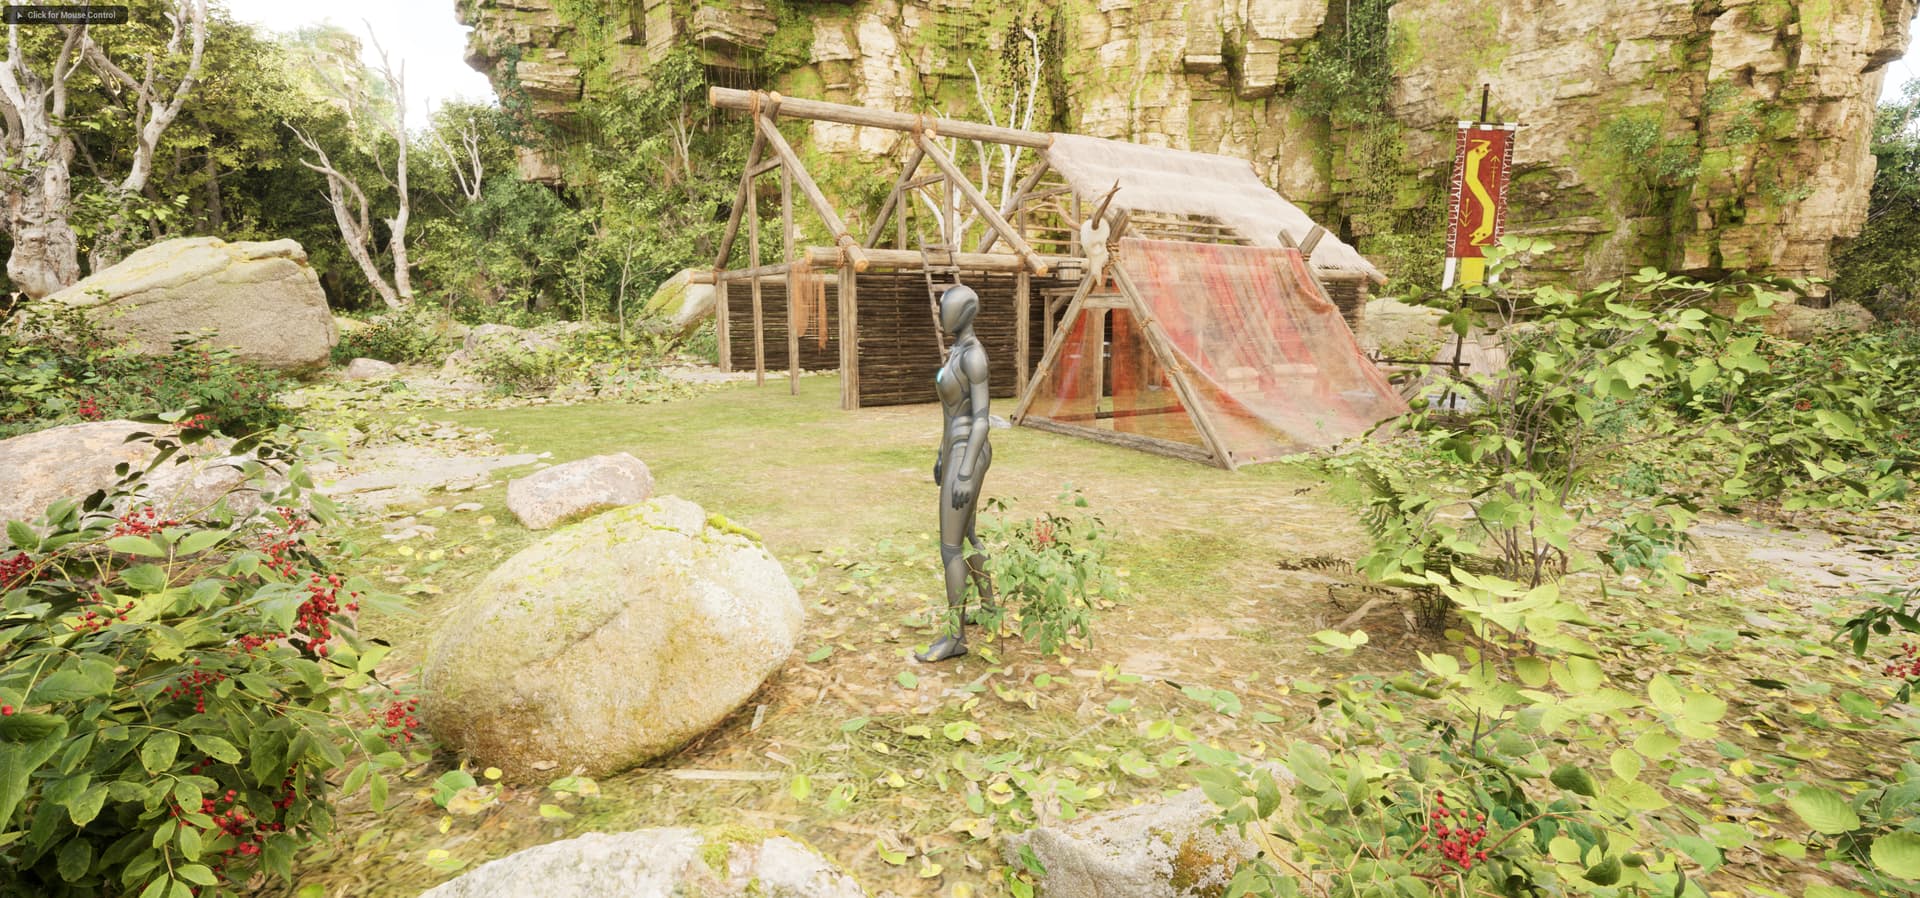
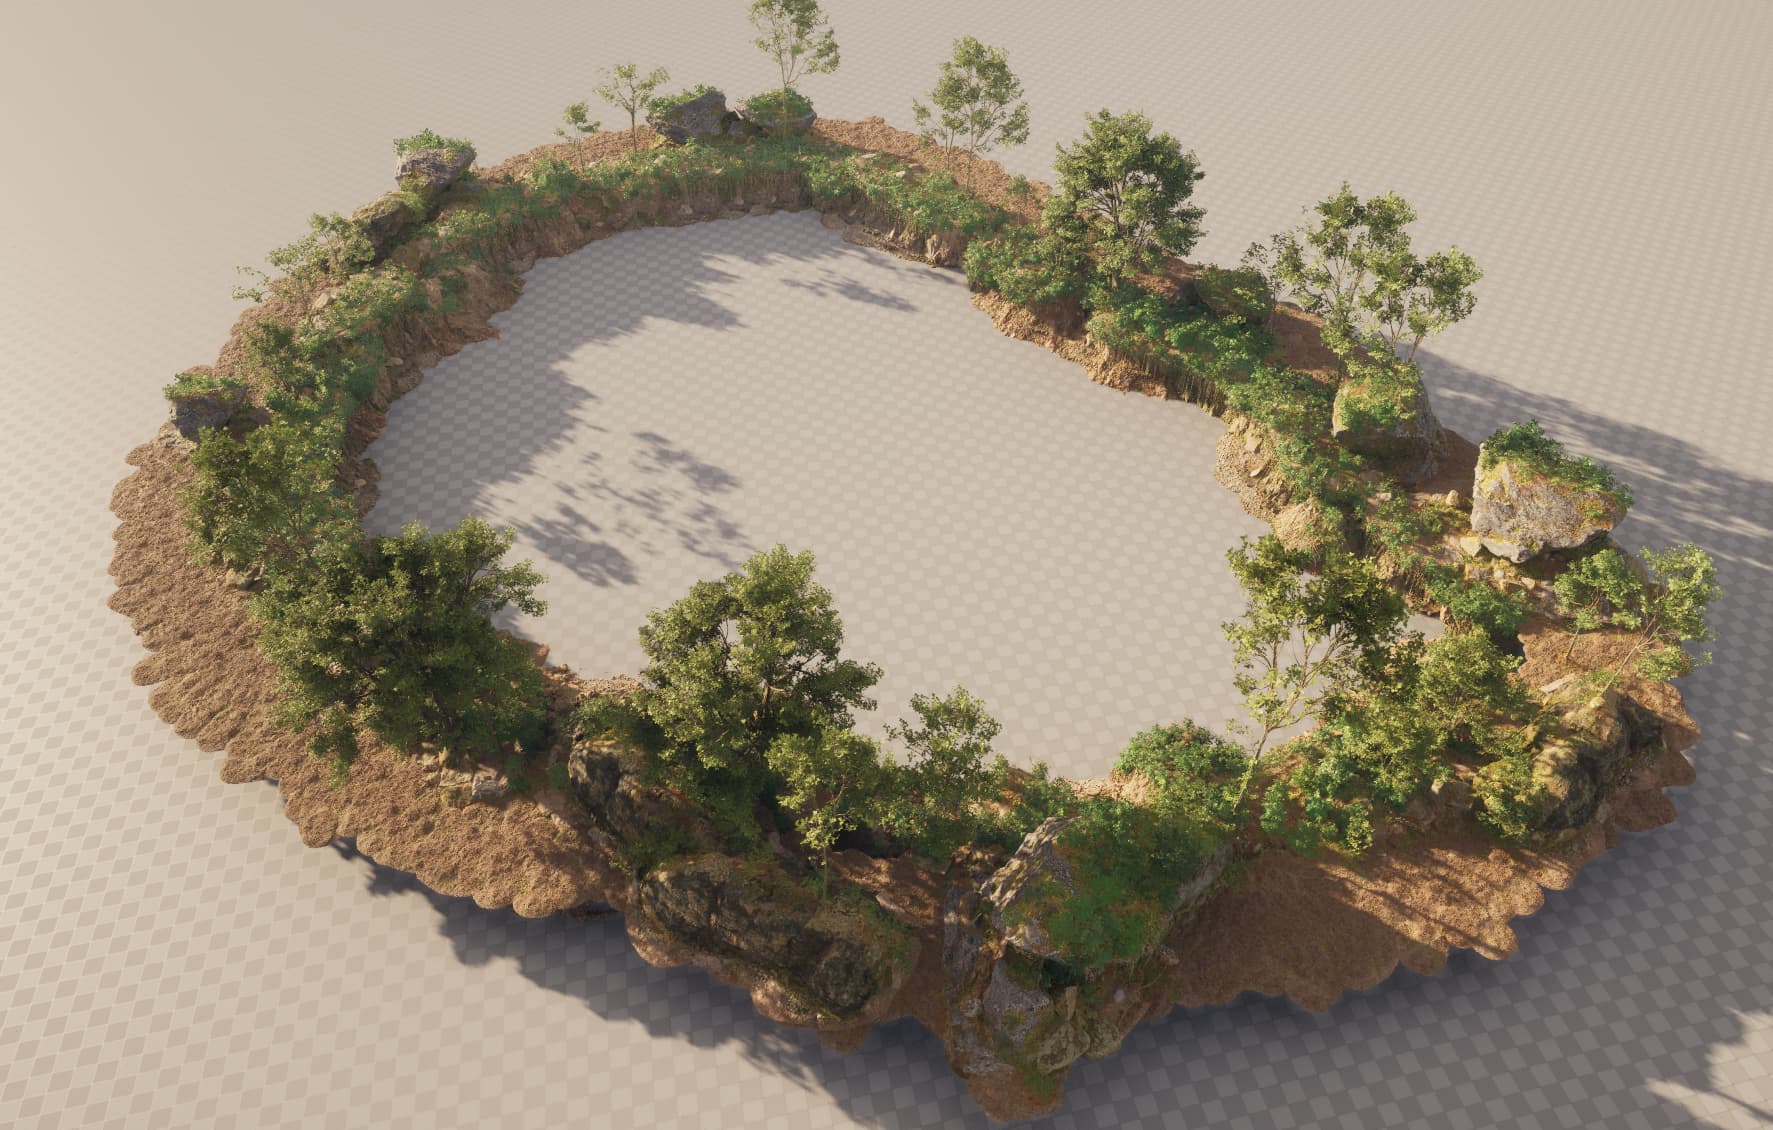
Drag-drop the ditch blueprint PCGDemo_DitchBP on to the scene. You don’t see much
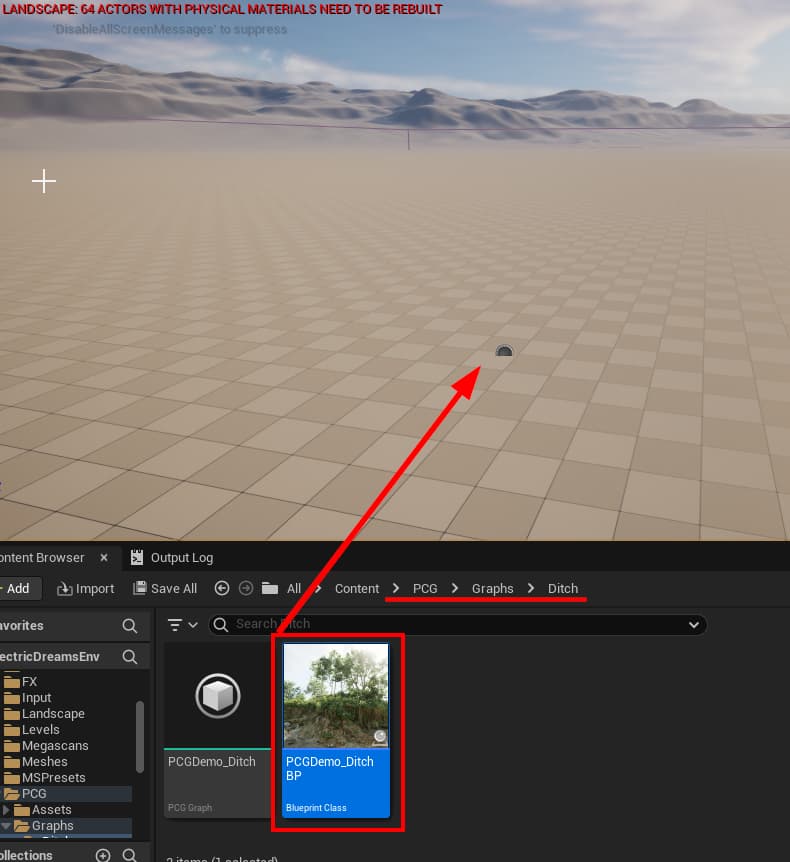
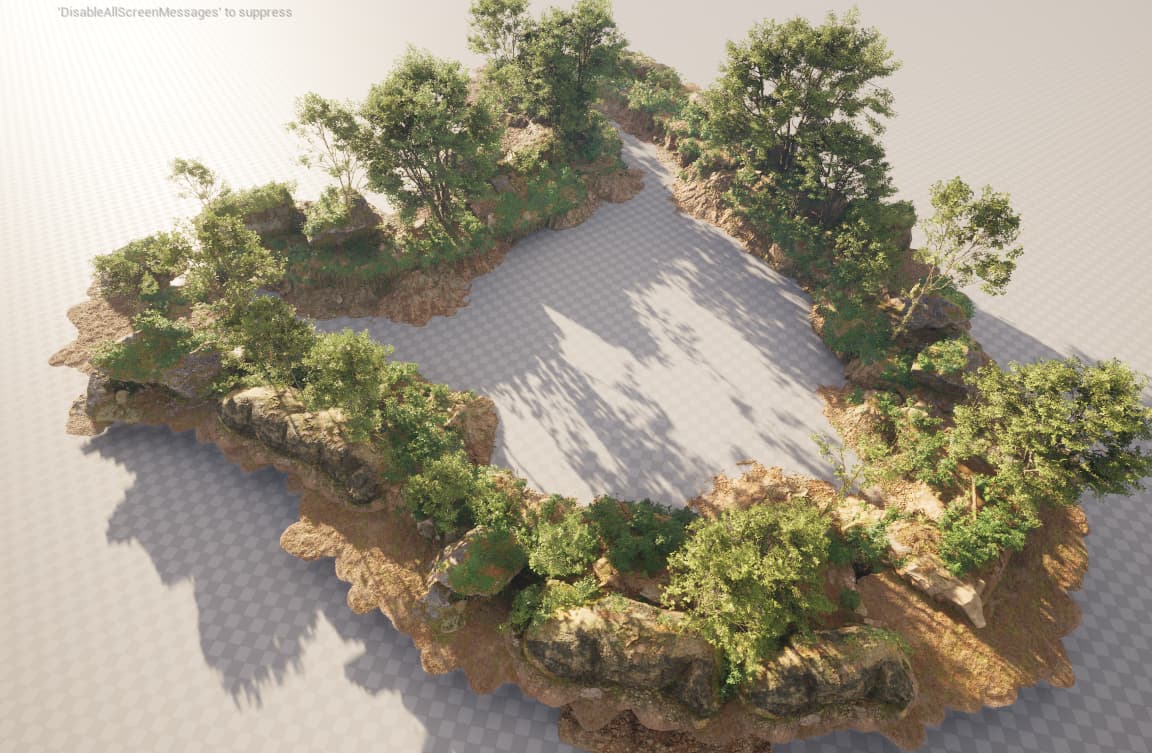
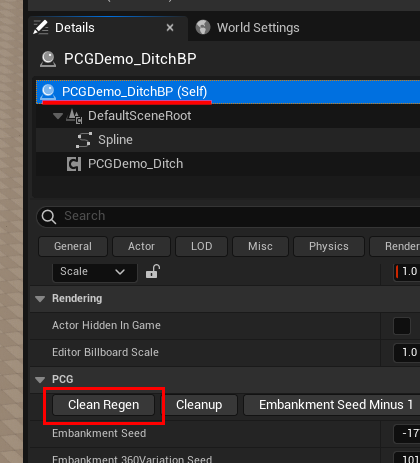
This is a blueprint with a spline component. The ditch assets are spawned along the spline and this logic is invoked from within the blueprint. Select the dropped-in actor and hit Clean Regen

Regen / Cleanup
Notice that we don’t have any buttons to destroy this from the scene, only the Clean Reg button (i.e. clean+build).
Lets add a cleanup button. Open up the blueprint PCGDemo_DitchBP
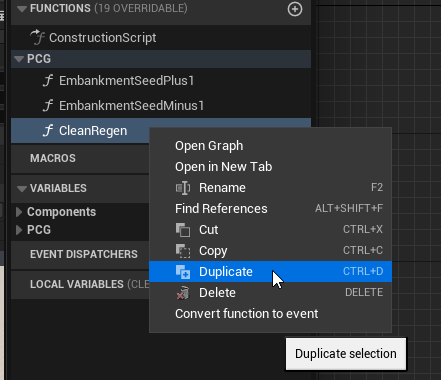
You’ll notice that these 3 buttons are just blueprint functions with their Call In Editor flag checked
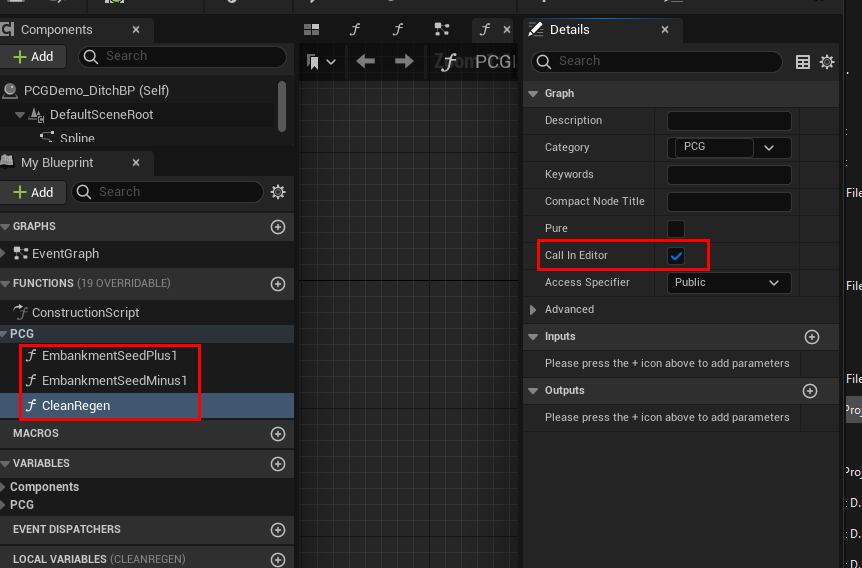
Duplicate the CleanReg function and name it Cleanup
Open up the newly created Cleanup function. We just want Cleanup here and no Generate. So get rid of Generate. Also make sure Call In Editor is checked. It should look like this.

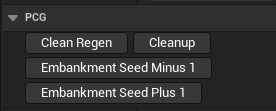
Compile and save, switch back to the level editor, select the ditch blueprint actor and you should see a button to cleanup
Ditch Spline
The ditch blueprint has a spline. Select the actor in the level editor and select the Spline component
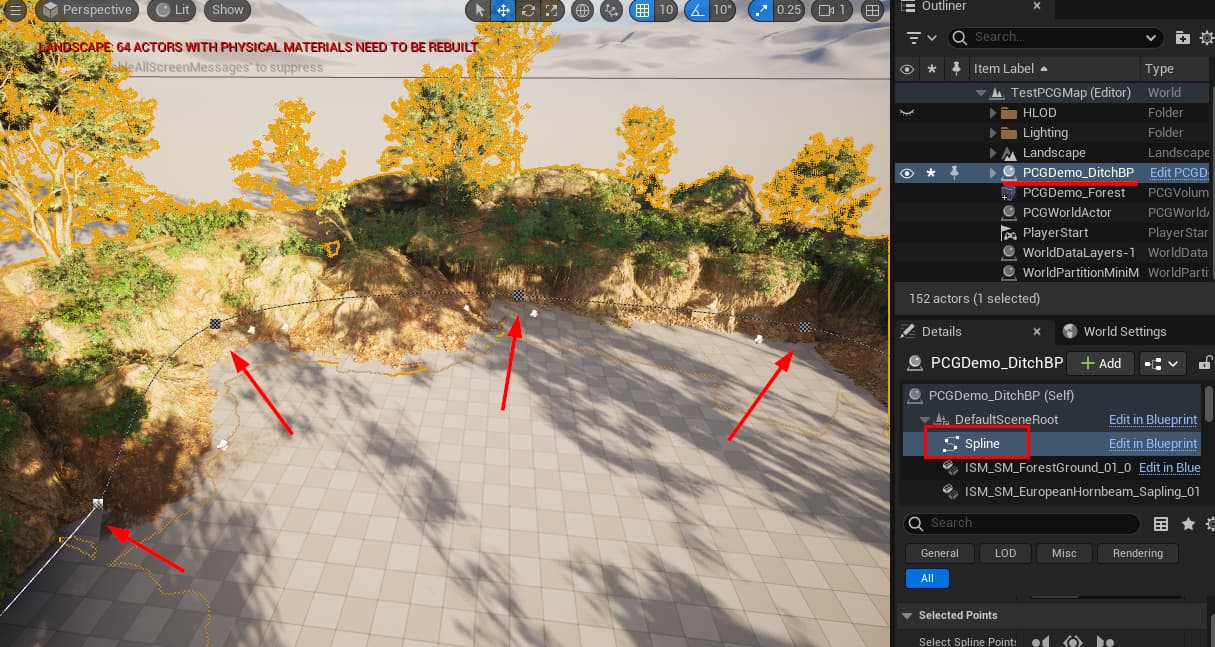
If you don’t see the spline after selecting the spline component, make sure you’re not in Game Mode (press the G key in the viewport to toggle game mode)
You can add / remove points and perform a clean regen

You might want to Cleanup before working on the spline
Once done, click Clean Reg
Select the Forest PCG volume and click Generate. You’ll notice the forest doesn’t generate inside the ditch spline

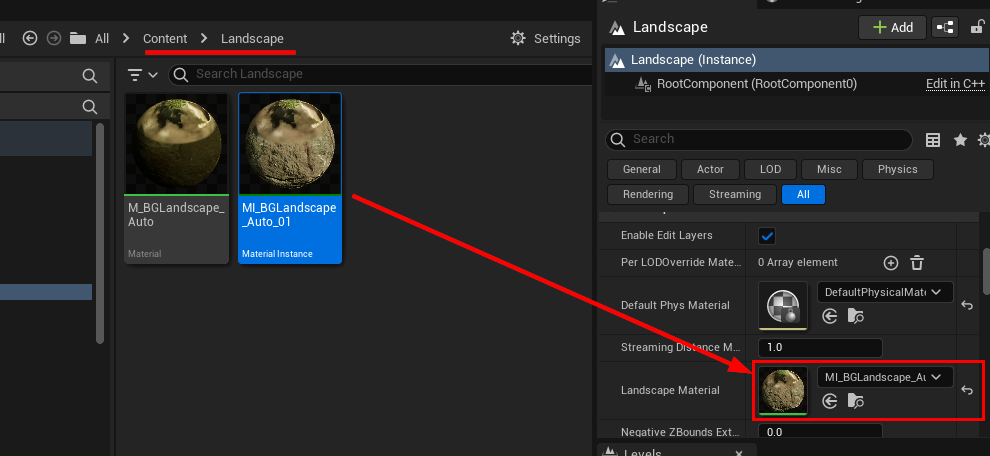
Ground Material
Select your Landscape and assign the landscape auto material that comes along with the sample

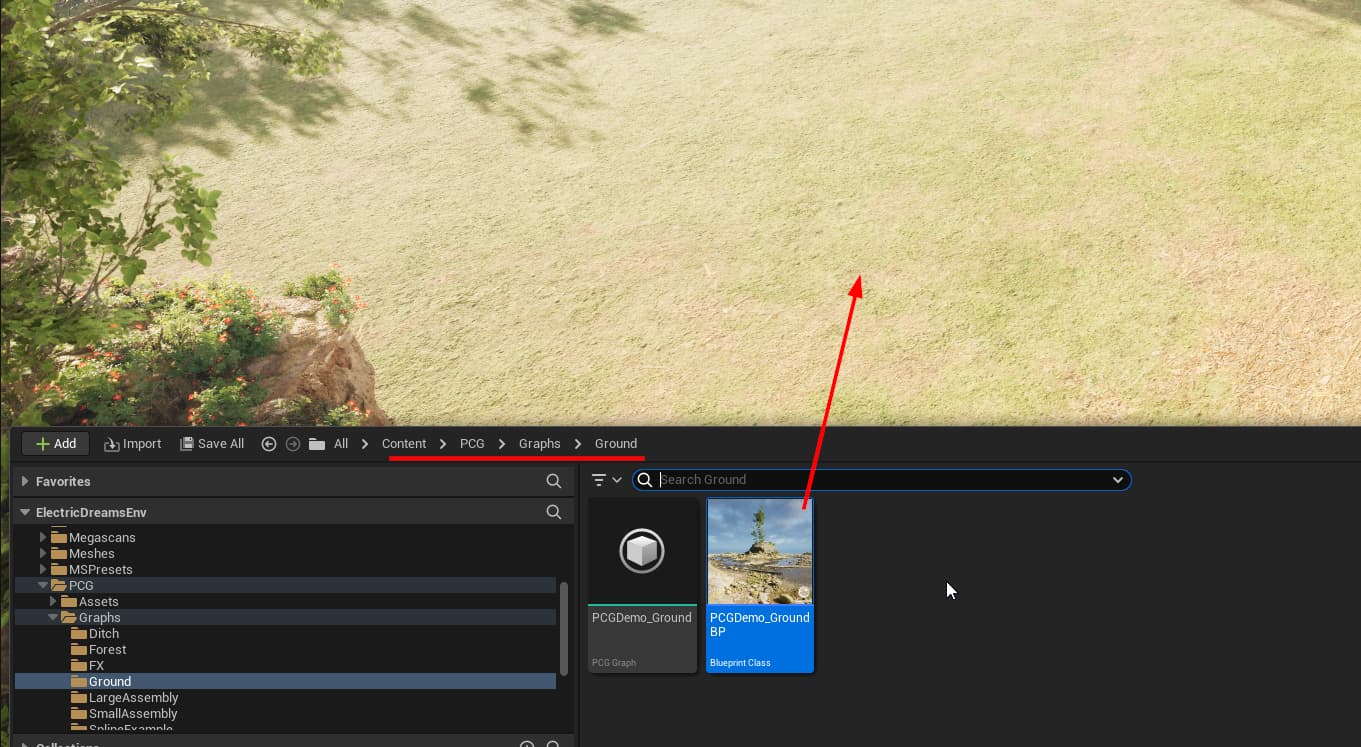
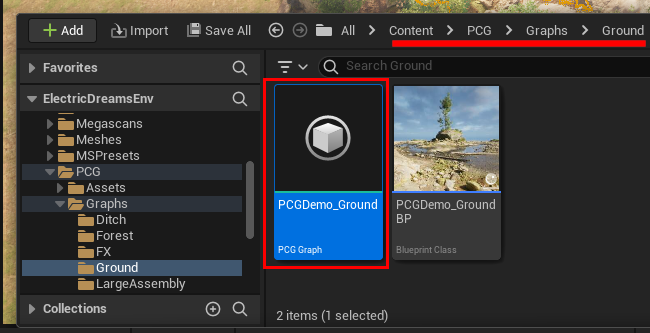
Ground PCG Graph
The sample comes with a PCG graph for decorating open spaces.
Drag drop PCGDemo_GroundBP anywhere on the scene


Extending the PCG Graphs
Fix Ground PCG Graph
Select the Forest volume and perform a Cleanup
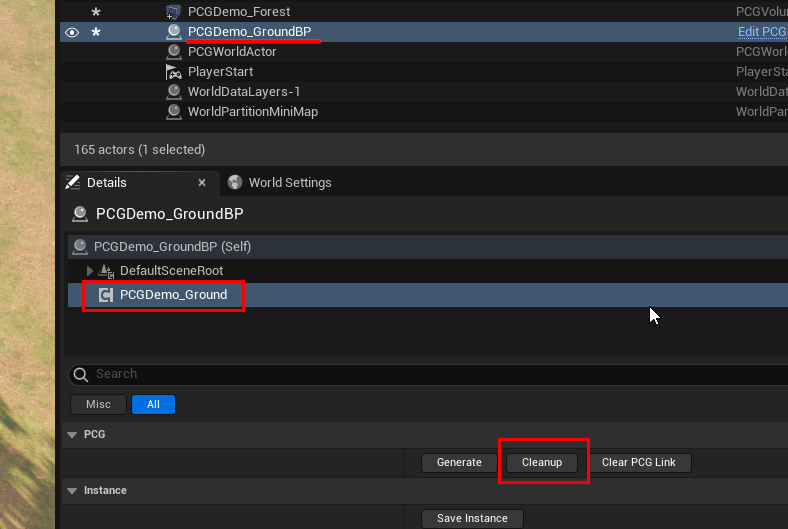
Select the Ground bluerpint and perform a Cleanup
Then drop in another PCGDemo_DitchBP blueprint and hit Clean Regen
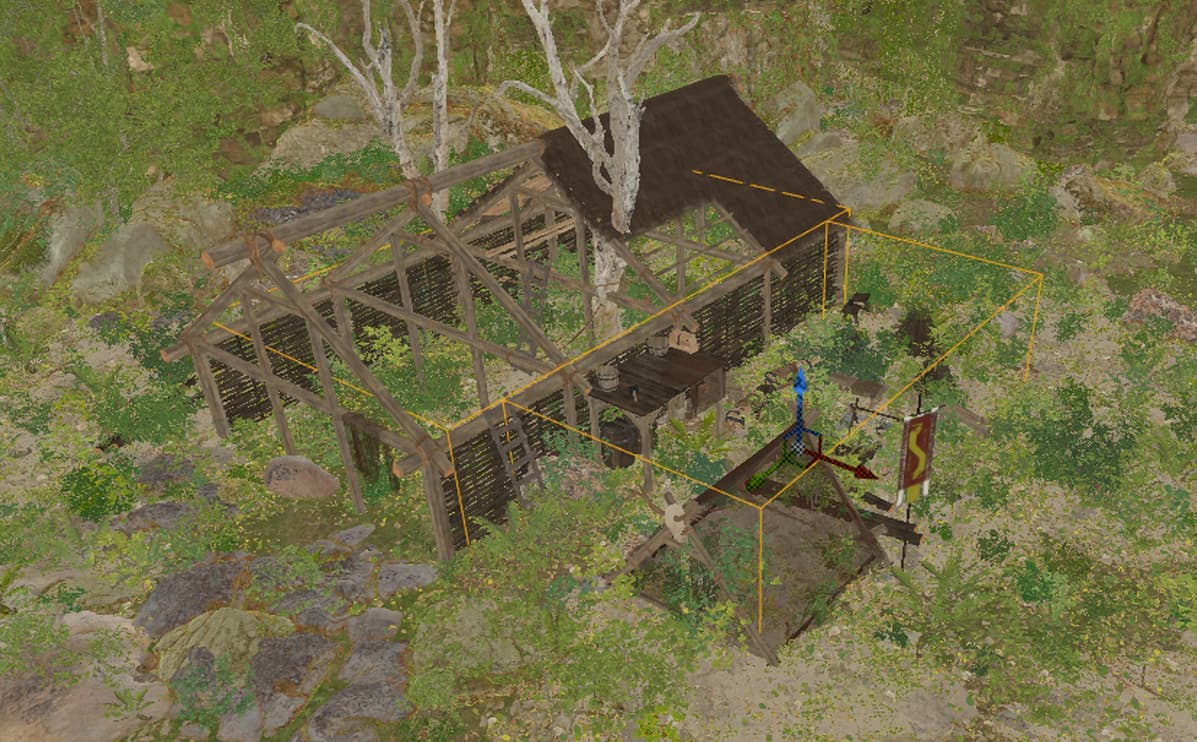
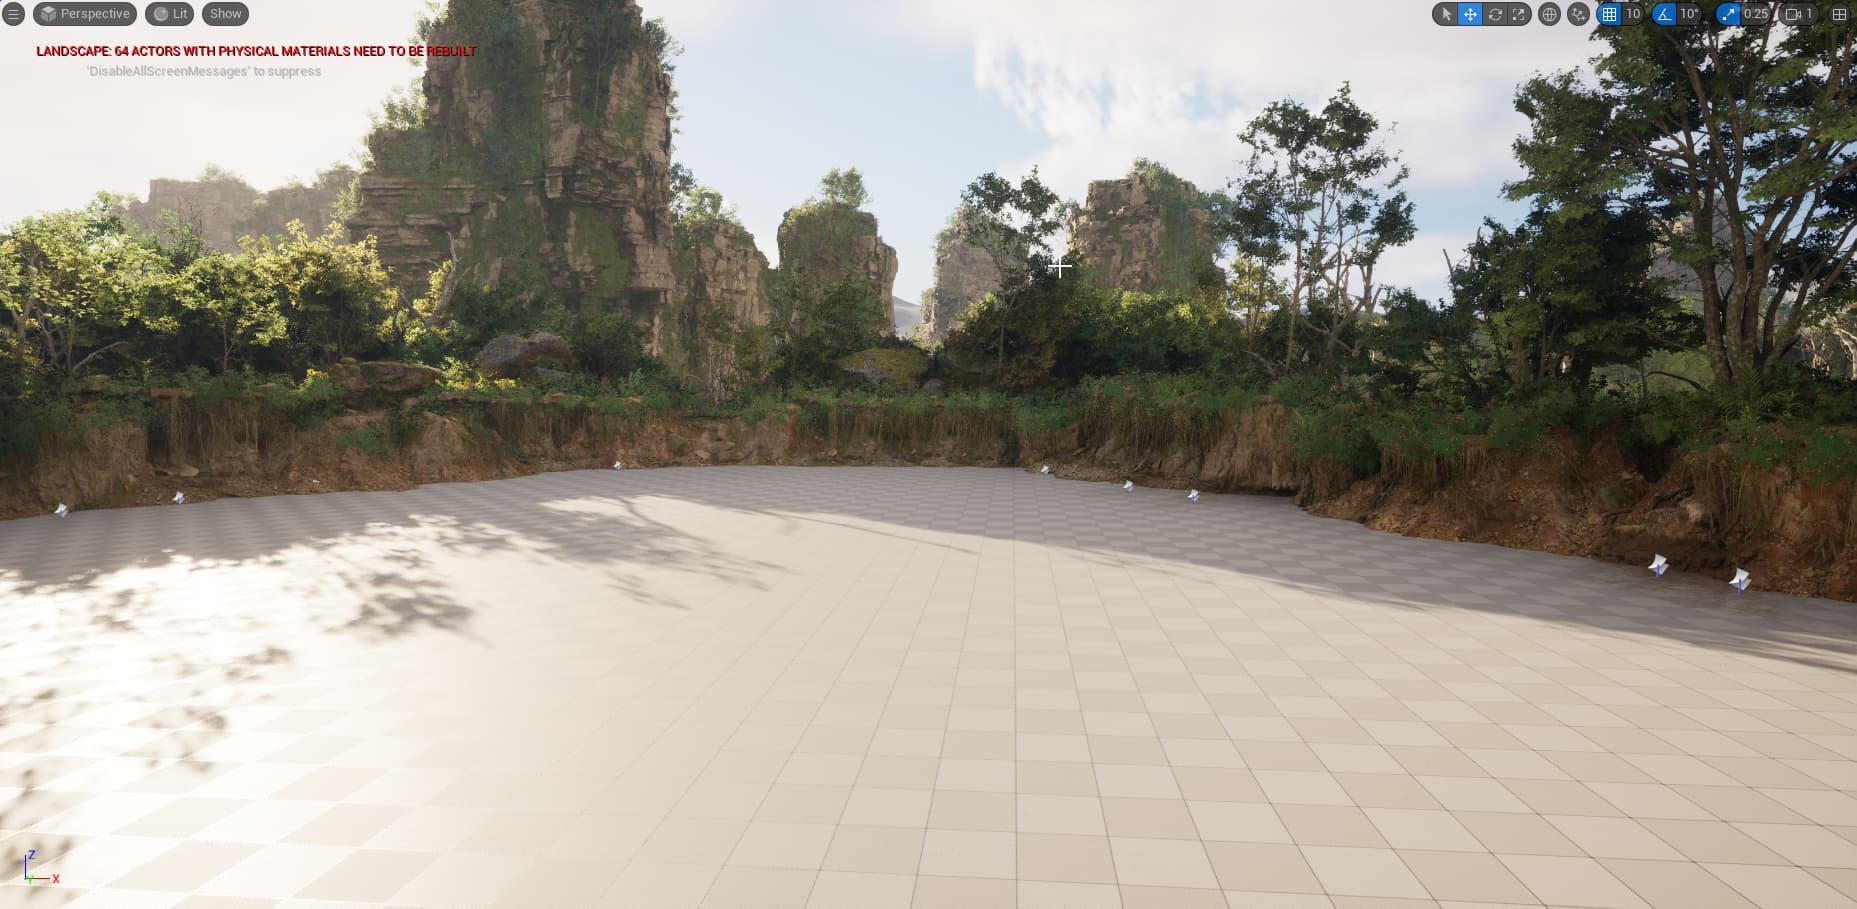
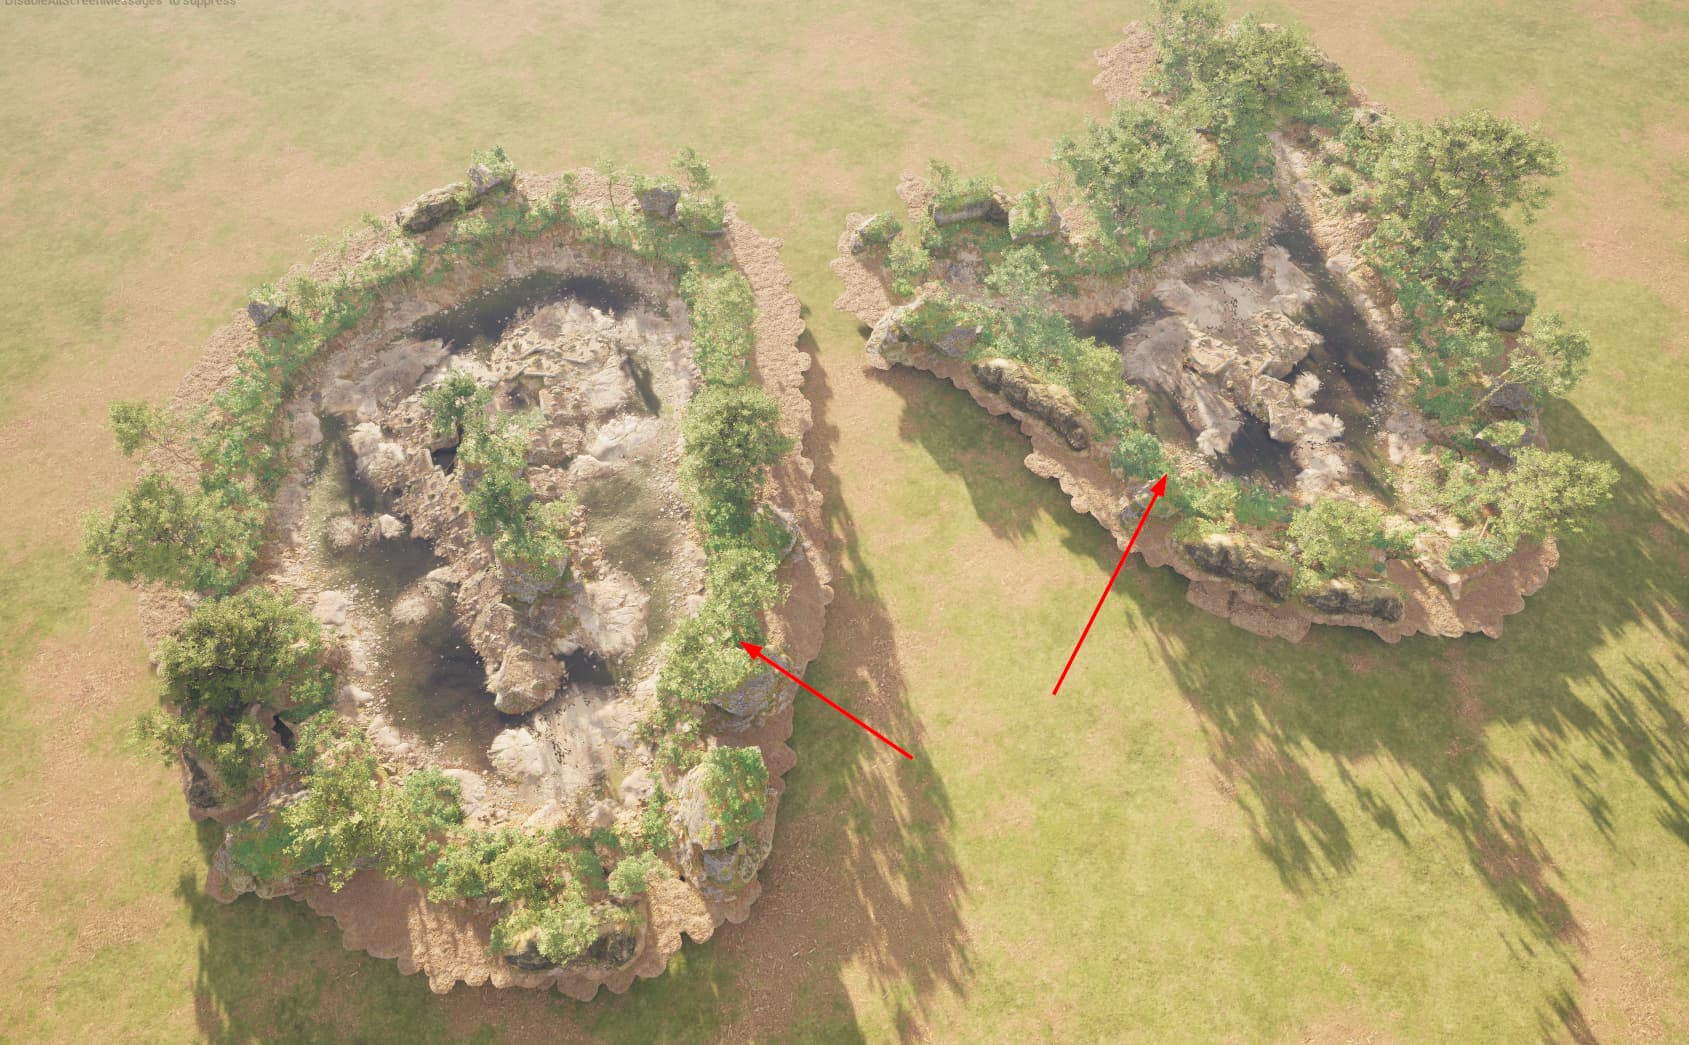
Your scene should look something like this:

Now select the PCGDemo_GroundBP blueprint and hit Generate

You’ll notice that the ground was built only on the first spline. Epic has designed the Ground PCG graph this way to pick the first spline in the scene and build it there. Lets change that so it picks up all the ditch splines in the scene
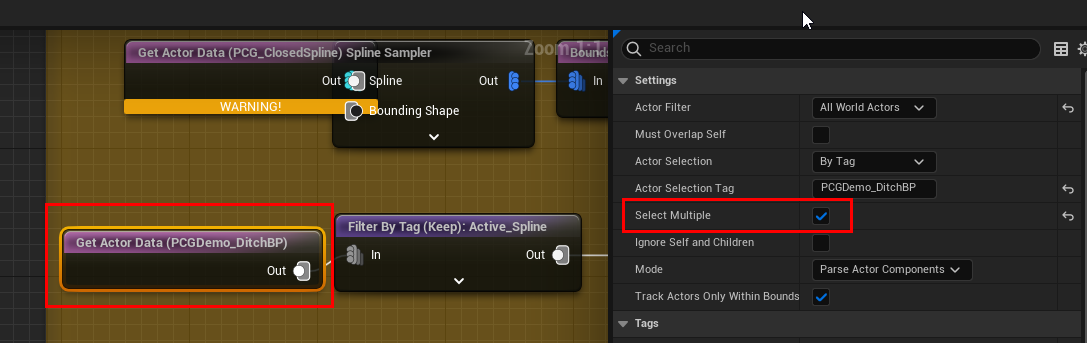
Open the Ground PCG graph asset (not the blueprint)

Select the node that searches for the ditch blueprint and enable the flag Select Multiple
Save the blueprint, come back to the level editor, select the Ground PCG blueprint and regenerate
Fix Forest PCG Graph
The forest PCG graph has a similar issue. Select the forest volume and hit Generate

The forest doesn’t generate over the first ditch spline, however it ignores the other splines
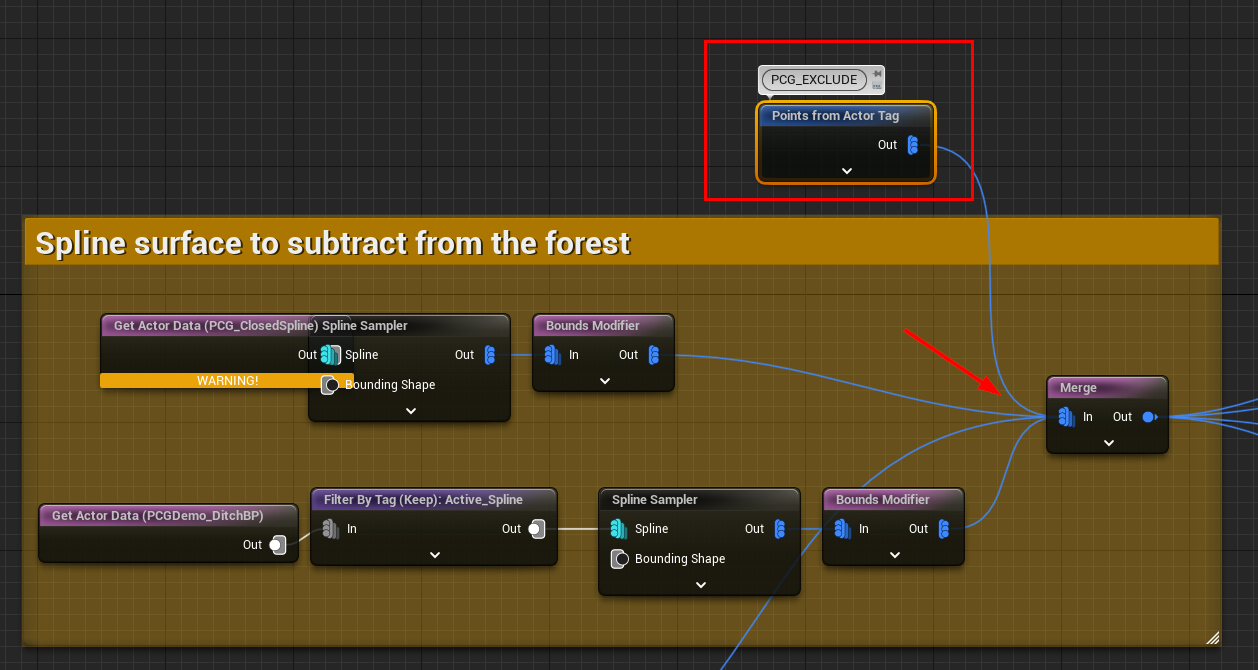
Open up the forest PCG graph: Content/PCG/Graphs/Forest/PCGDemo_Forest

Select the node that searches for the ditch blueprint and enable the Select Multiple flag
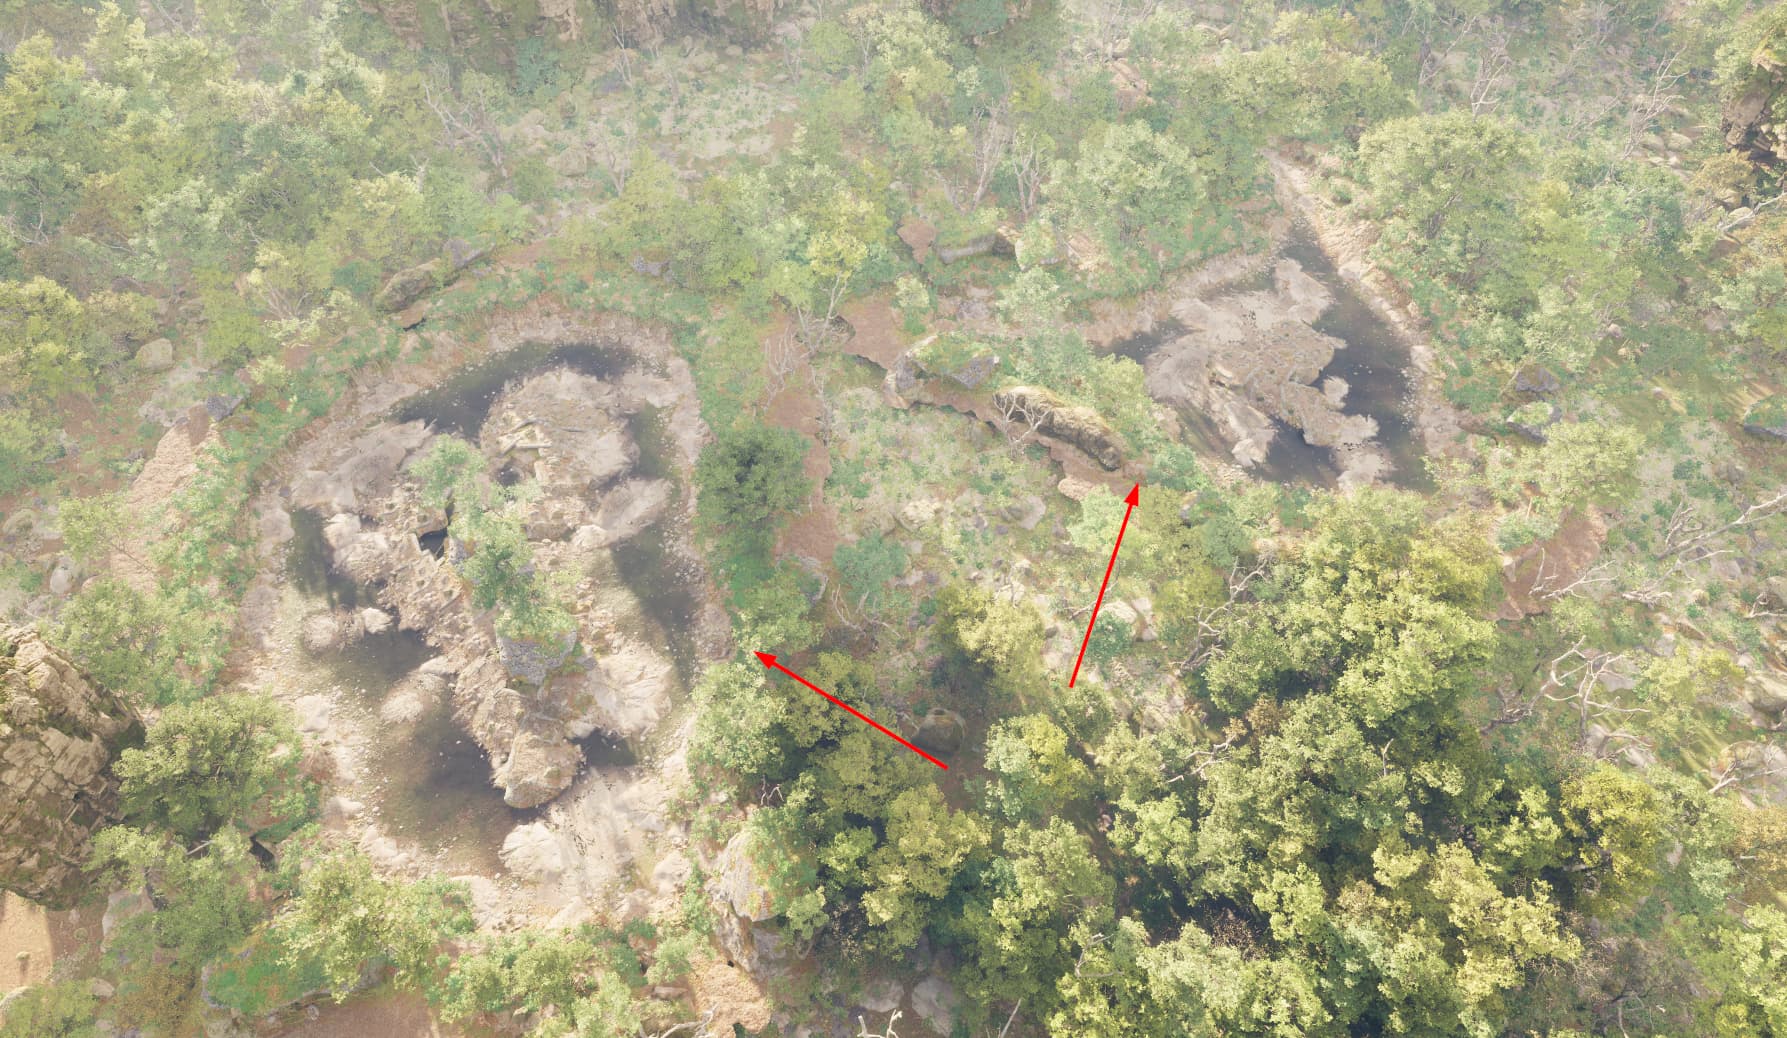
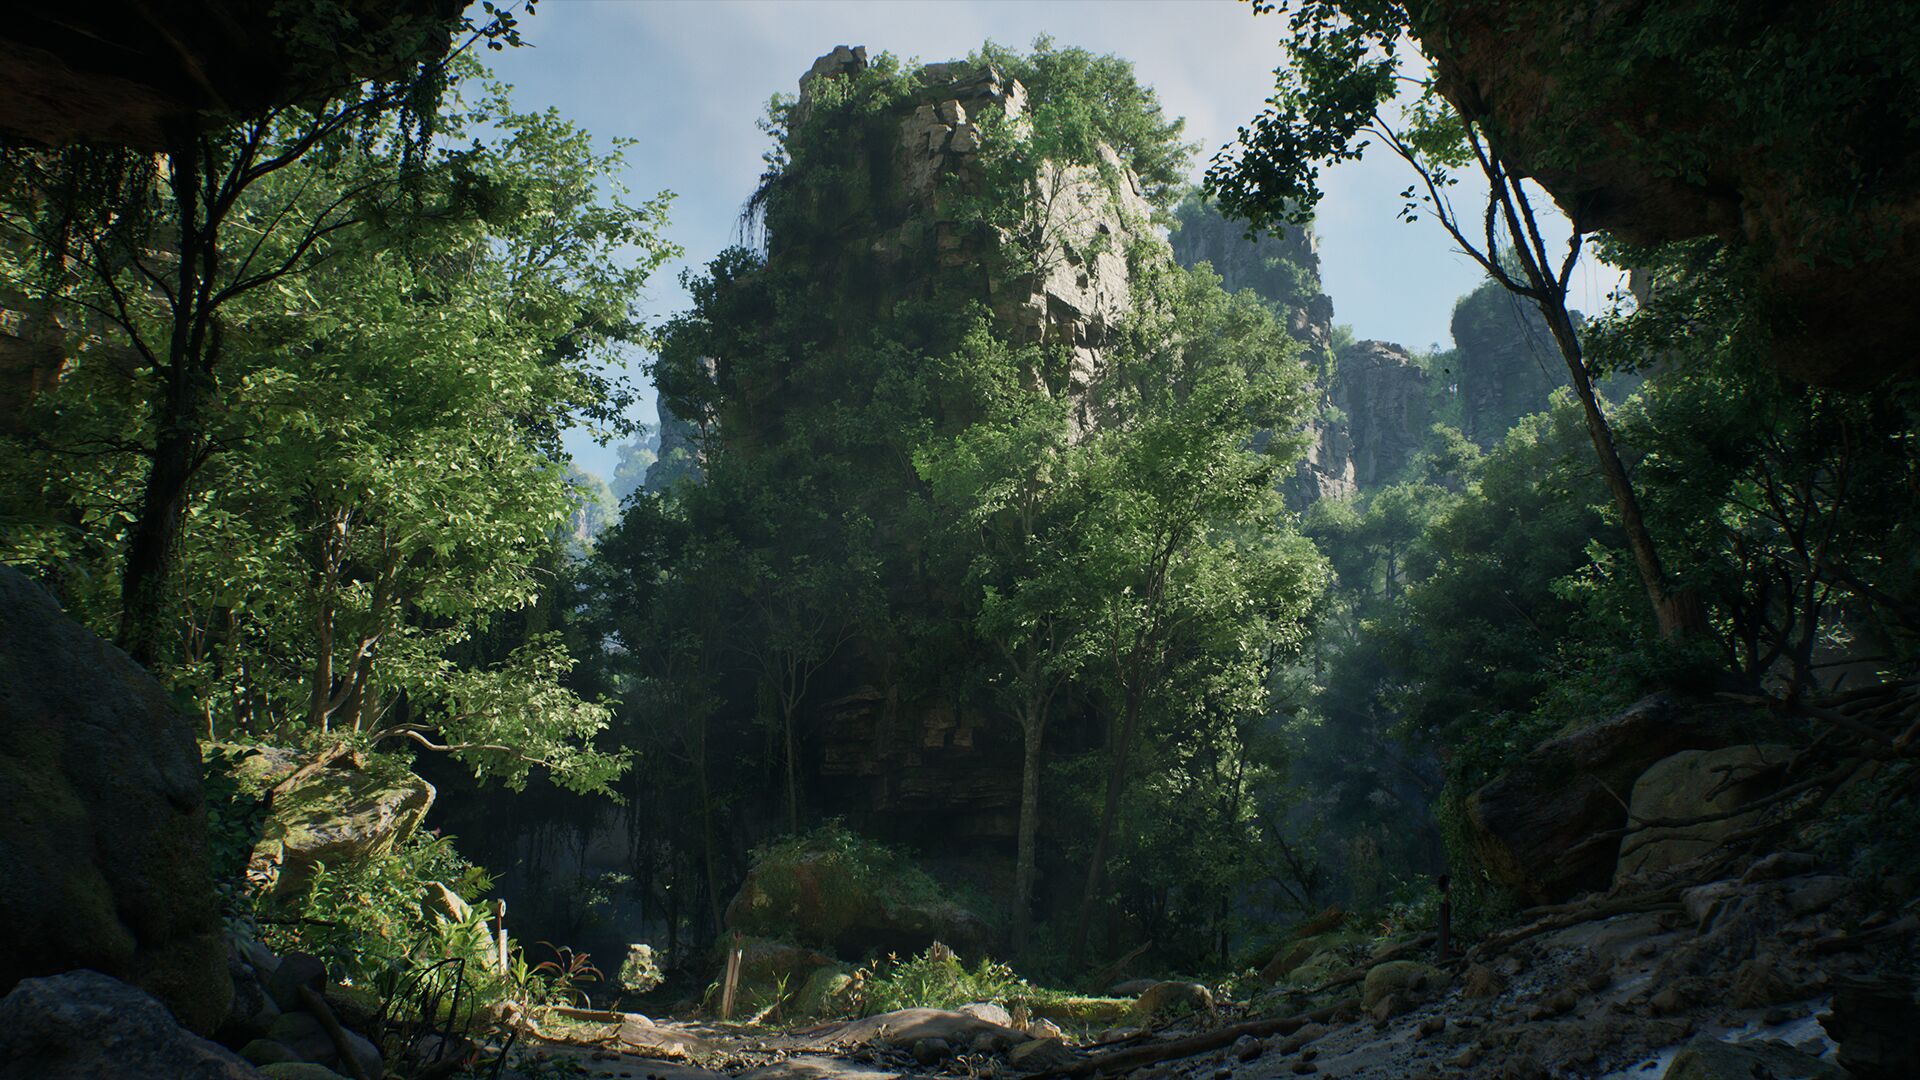
The forest should grow insde every ditch spline placed in the scene
(continued below…)