We’ll clone an GridFlow sample scene and setup gameplay on it from scratch
Open Launch pad and clone this scene somewhere


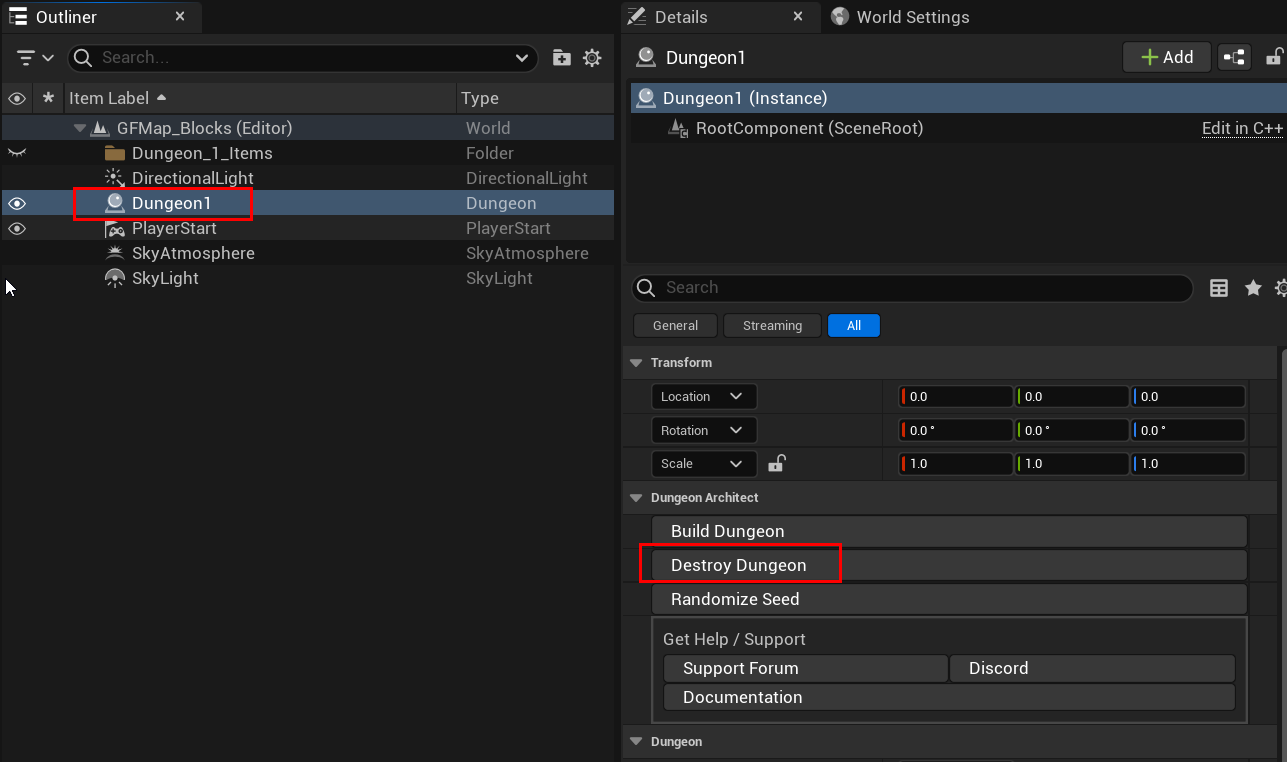
Open the scene, select the dungeon actor and destroy the dungeon
Hitting play won’t do anything, as there’s no gameplay in this scene. We’ll set that up now. For this, we need a custom GameMode
Game Mode
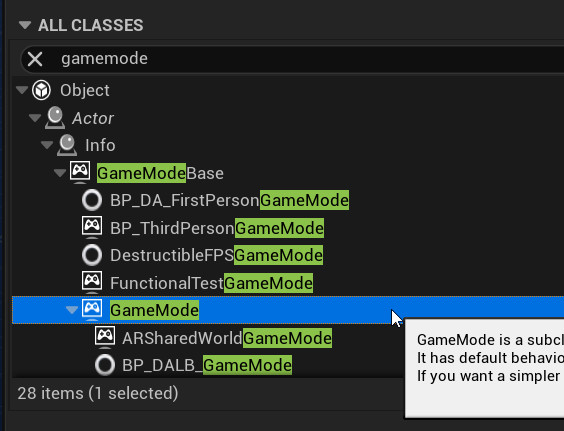
Create a blueprint that derives from GameMode (not GameModeBase)
We want our dungeon to build in a non-blocking way, where it’s built over multiple frames. During this time, you may show an animated loading screen. In this example, we’ll keep the player in specitator mode and start the game (spawn our character) only after the dungeon has been fully built
Build the dungeon
Do thie following:
- Create a bool variable to control when the game starts. Call this
CanStartGameand set the default value to false

- Place this logic in BeginPlay. Here we randomize the seed and build the dungoen. Before that, we hook on to the
OnDungeonBuildCompleteevent so we get notified when it is fully built. When that happens, we set the boolean flag to true, which would then start the game (logic for that later below)

ReadToStartMatch - Control when the game starts
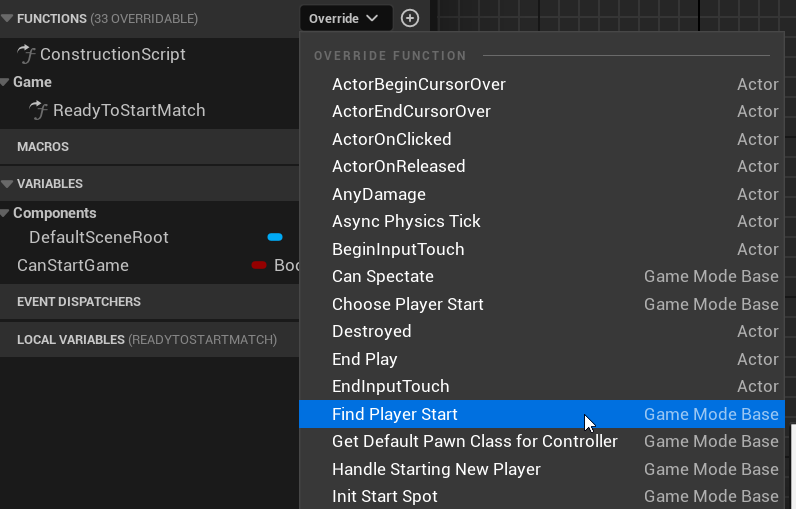
Override the function Read to Start Match

If you don’t see this override, this means your game mode derives from
GameModeBaseand notGameMode
Return the Can Start Game bool variable value.
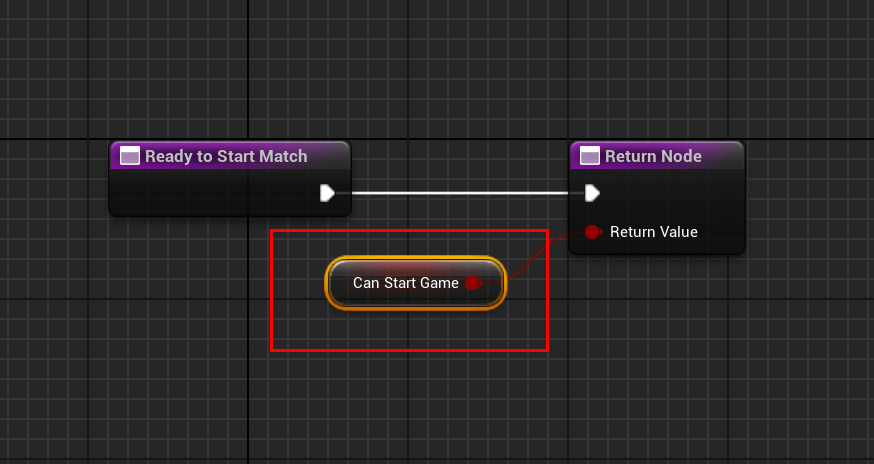
This would tell the engine to start the game only after our dungeon is fully built.
Detailed explanation of how this function works:
Read to Start Match gets called by the engine repeatedly every tick to check if we can start the game. If you don’t want to start the game, keep returning false here until you are ready, which is what we’re doing here
This flag gets set to true after our dungeon gets fully built, at which point we’re ready to start
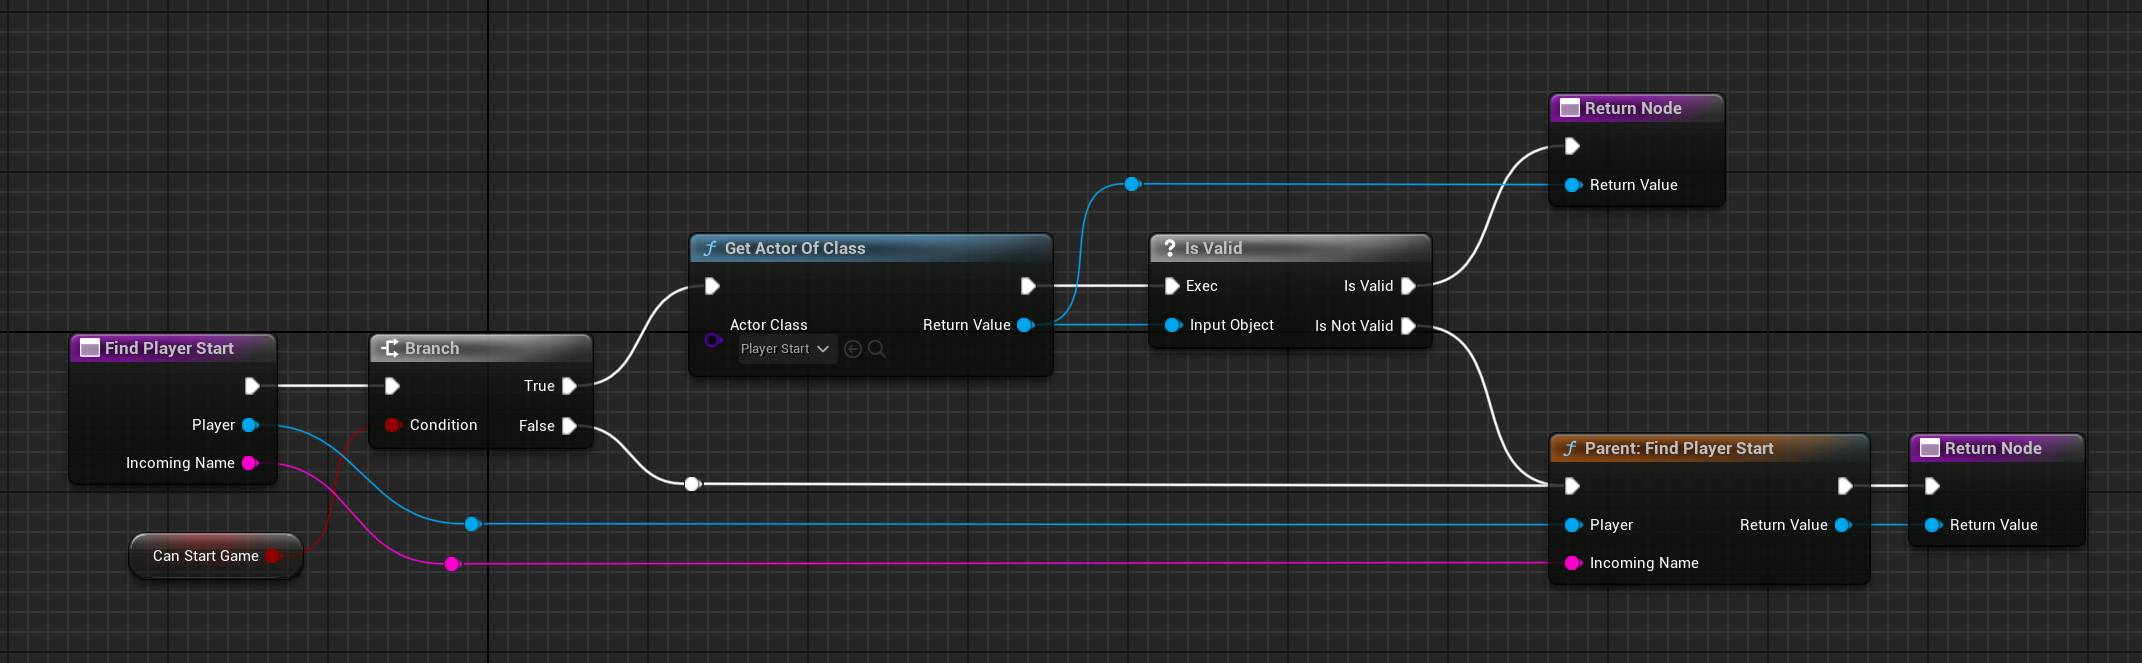
Find Player Start
You need to tell the engine which player start to use
Override the FindPlayerStart function in your game mode blueprint
Put this code in:
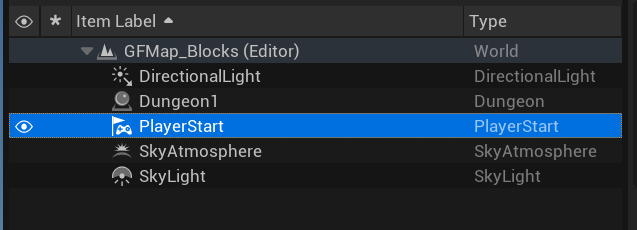
Delete default Player Start
Our theme file spawns a Player Start actor in the spawn room. We want our FindPlayerStart function to search and pick this one up. So, we need to make sure we don’t have any other PlayerStart actors in the scene.
When we created a new scene, there was a default PlayerStart actor, We need to delete this so it doesn’t pick that up and place our character in an invalid location

Assign the game mode
With the level opened, open the World Settings window. Navigate to Settings > World Settings
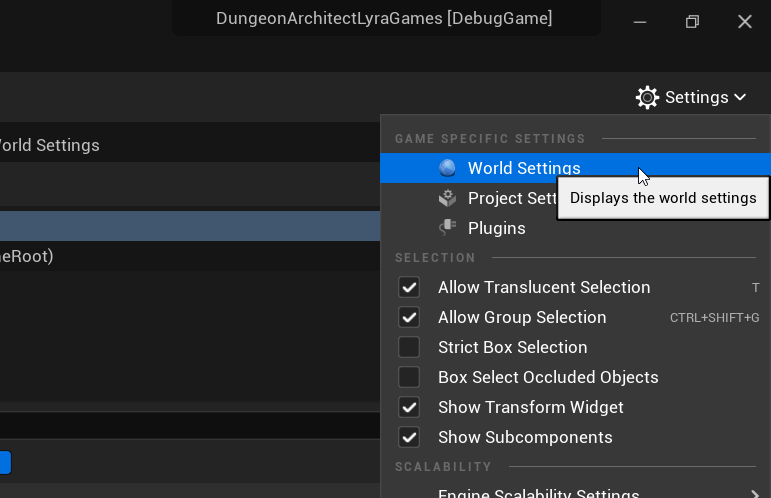
You’ll find the Settings button on the top right corner of Unreal Editor

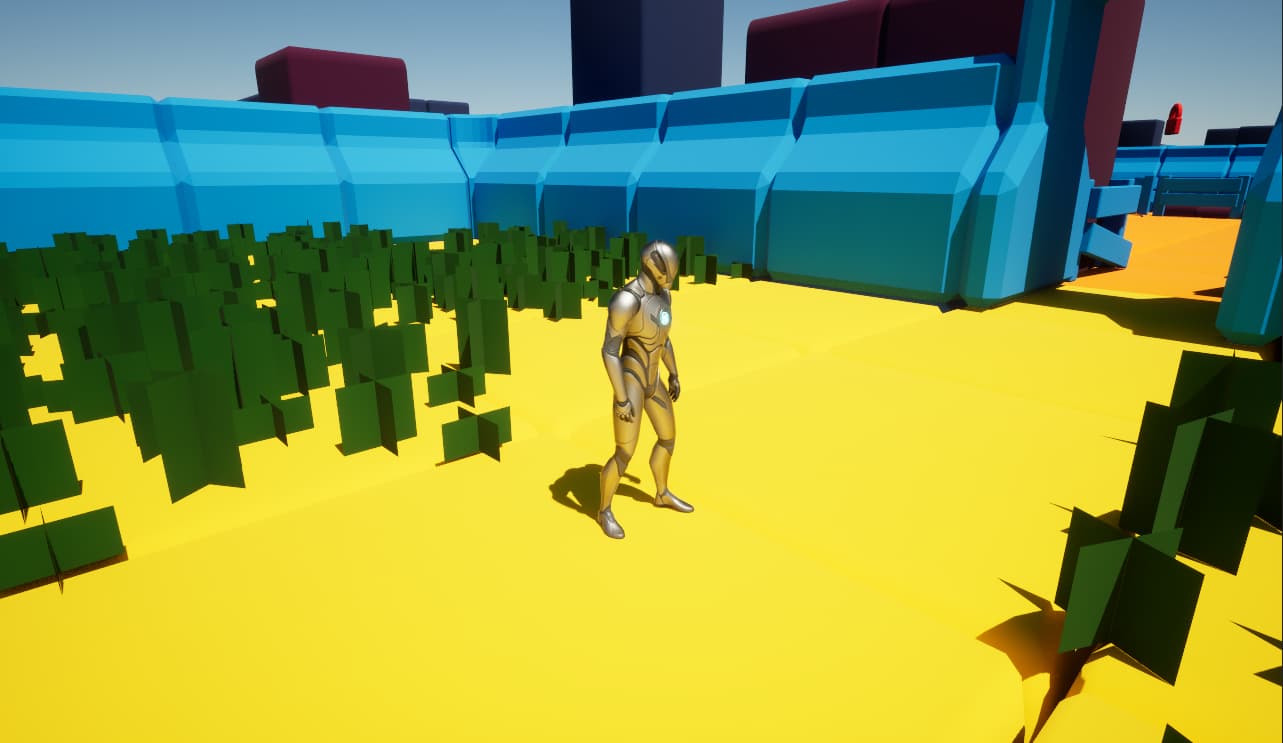
Hit play and you should see your default pawn (with fly mode) placed at the spawn room

Use a custom character
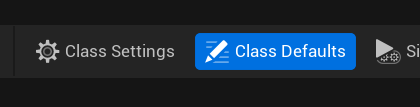
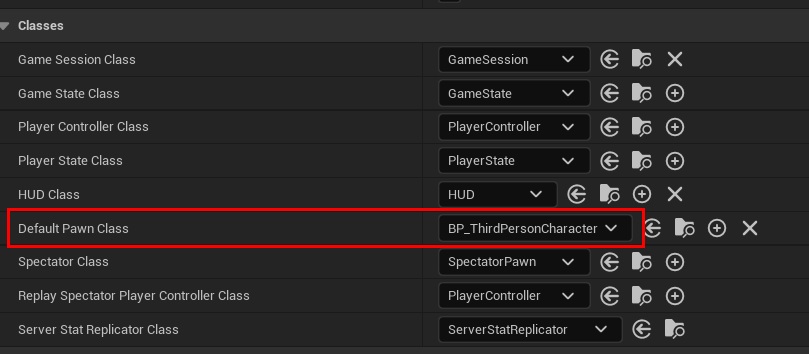
Lets use a Third Person character. Open up your game mode asset, navigate to Class Defaults
Set the Default Pawn Class to something else. I’ve set it to a third person character (if you don’t have it, then add it from the Content Browser > Add > Add Content or Feature Pack > Third Person Character)
/Game/ThirdPerson/Blueprints/BP_ThirdPersonCharacter
If you’re not able to move the character or look around, open up the character blueprint and check the Begin Play event. This is how it looks like:

To fix it, do this:

Async Build
If you want your dungeon to build over multiple frames and not stall for a bit while the meshes spawn in, set it to a non-zero value.
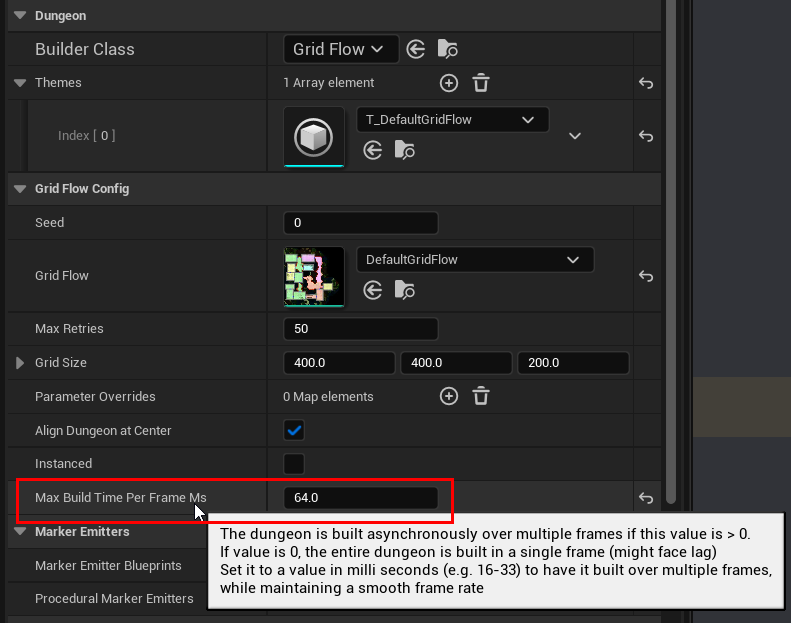
Here, I allow the system to use up a max of 64ms per frame to spawn in the meshes. It will spread out the mesh spawns over multiple frames.
HUD and Inventory
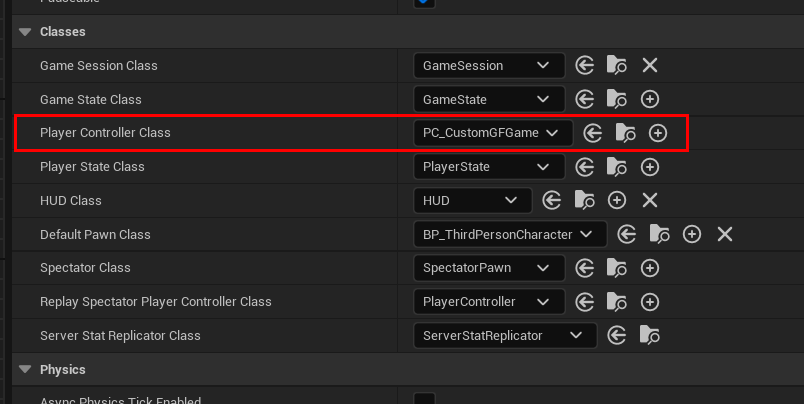
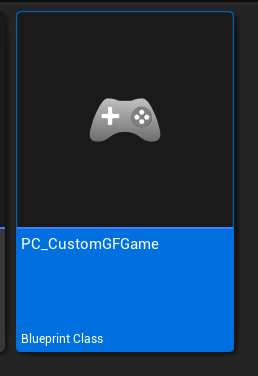
Setup Player Controller
Create a Player Controller so we can display the inventory HUD, that comes along with the sample.
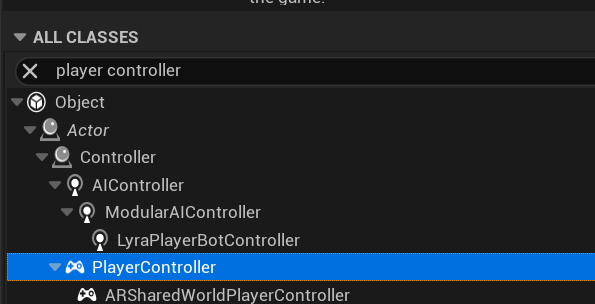
Open up the Game Mode asset and assign the new player controller, so it picks it up

Spawn HUD
Open the new player controller
Spawn this widget in:
/Script/UMGEditor.WidgetBlueprint’/DungeonArchitect/Samples/DA_GridFlow_Game/UI/UI_GridFowDemo_HUD.UI_GridFowDemo_HUD’


Setup Inventory
Open the third person character and add the inventory component

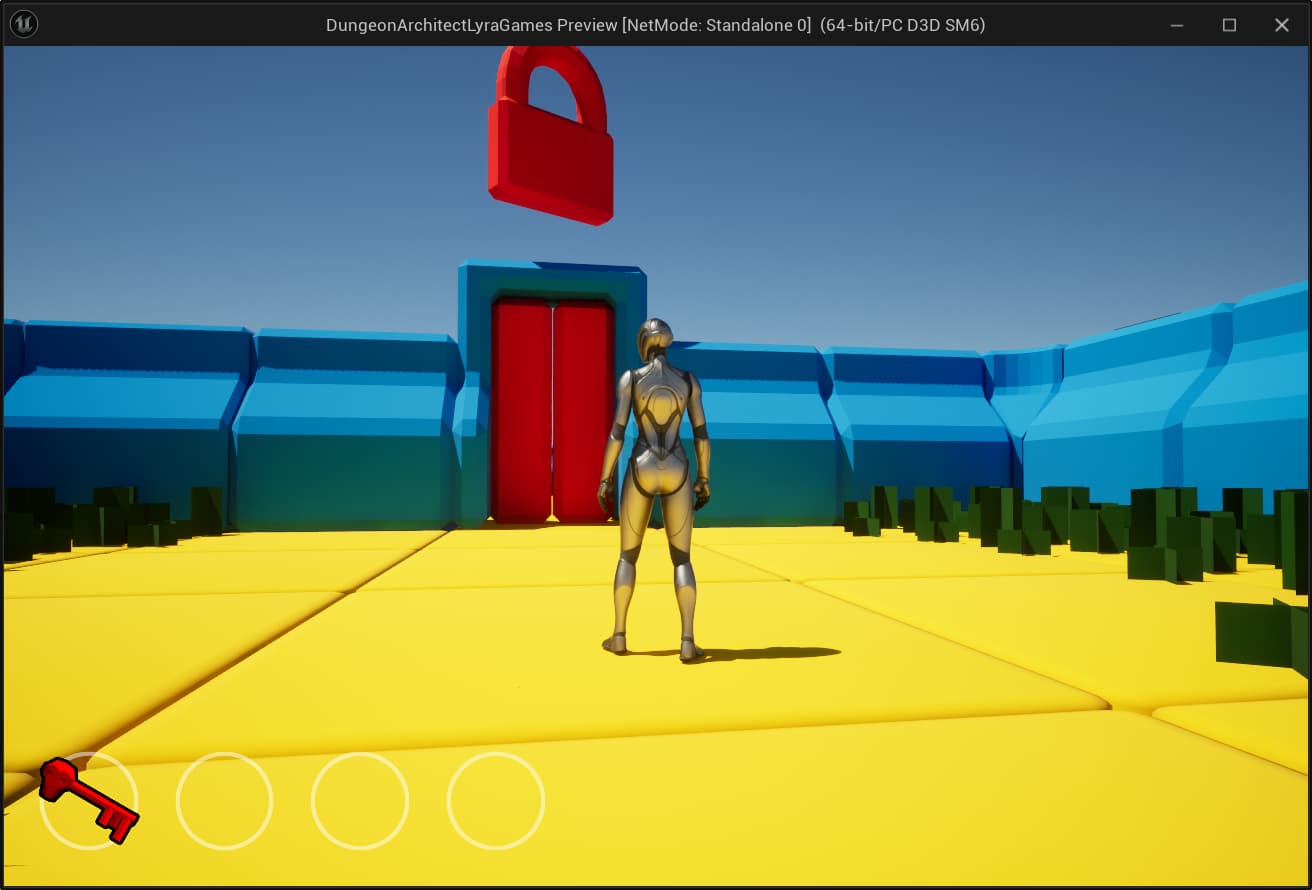
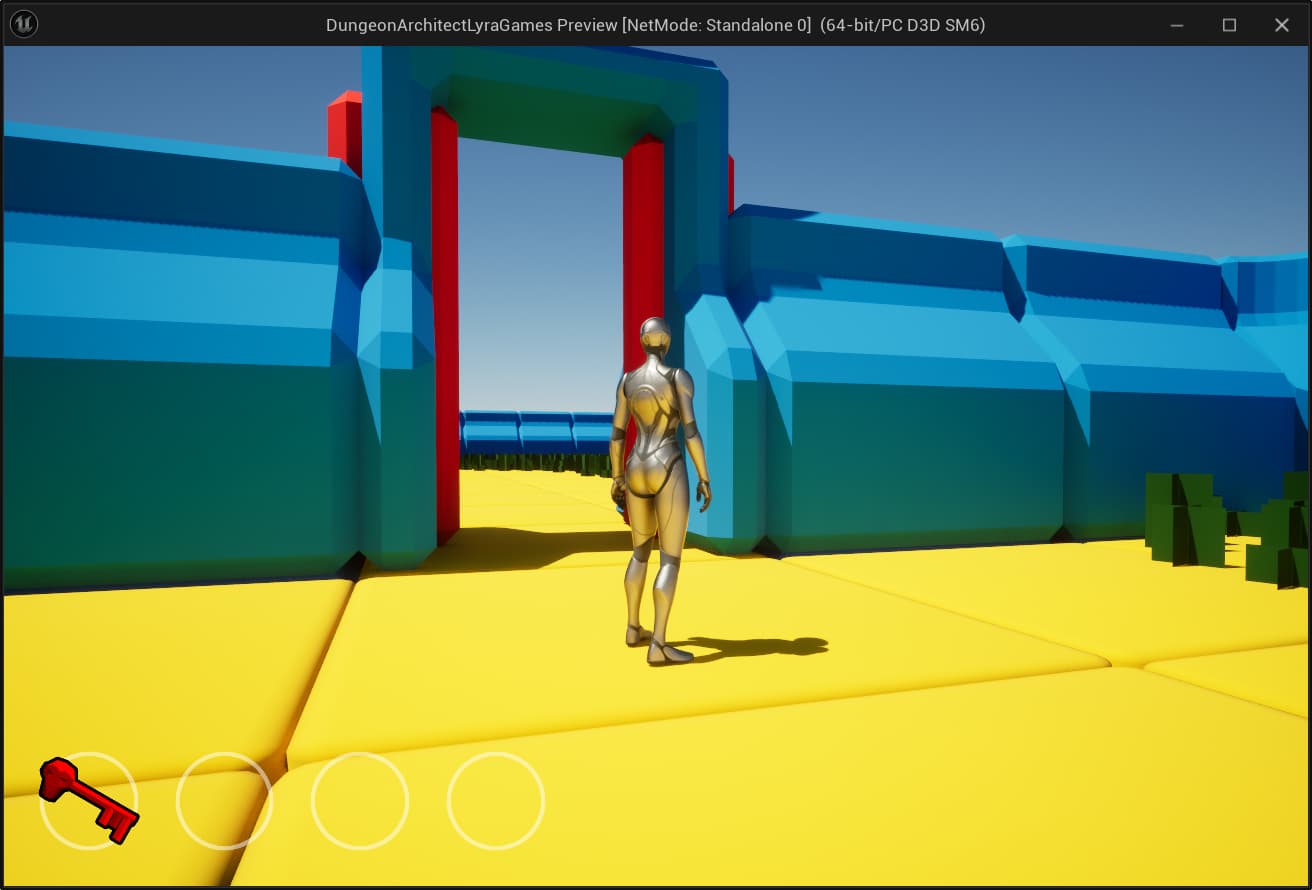
Your character should now be able to pick up keys
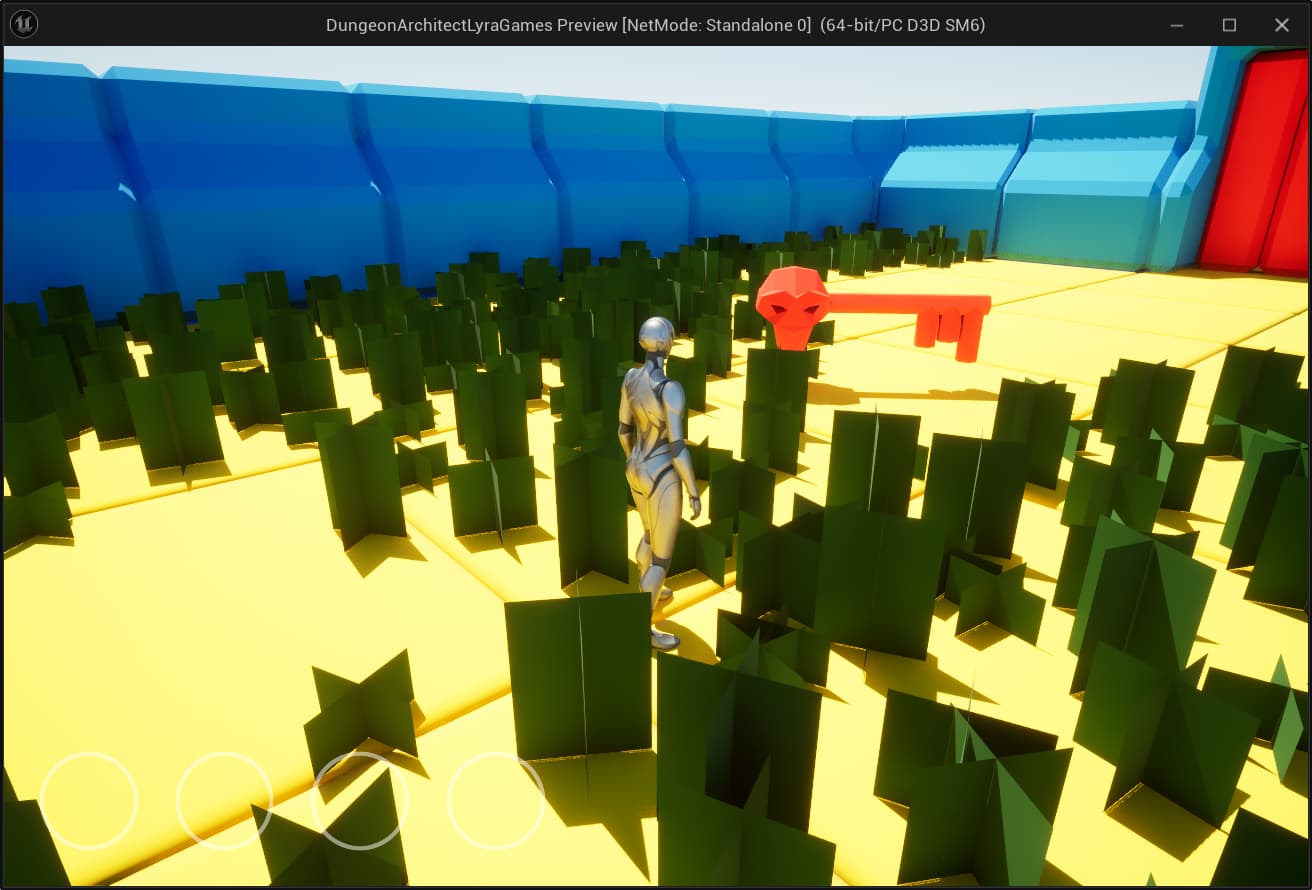
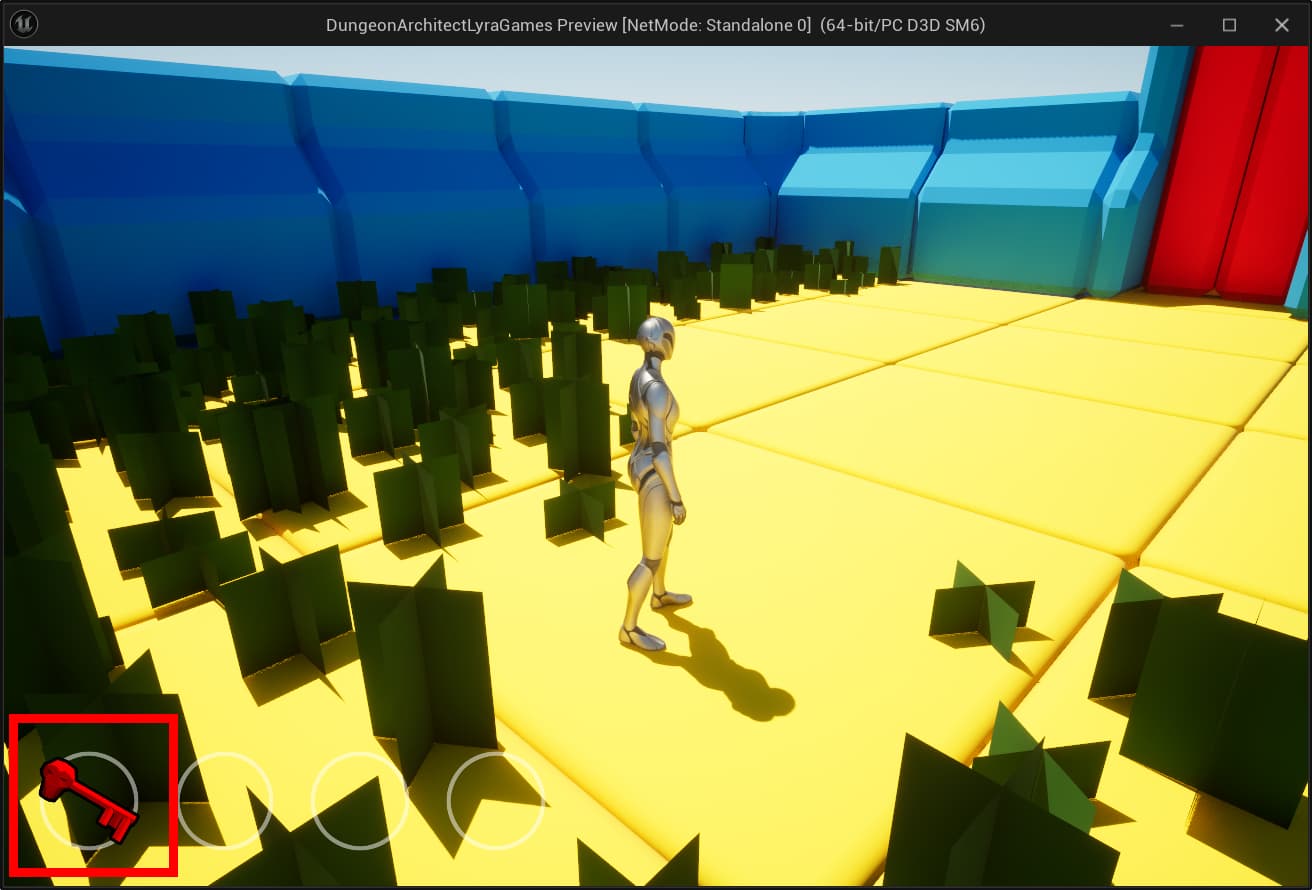
and open the right doors with those keys
Note that the inventory component (GF_Inventory) and the UI are simple blueprint implementation in the samples folder and are not part of the core of DA. This means you can integrate your own inventory system easily or build on this