Design beautiful minimaps for your levels using a Dungeon Canvas


You can design the look of your canvas using an interactive editor.
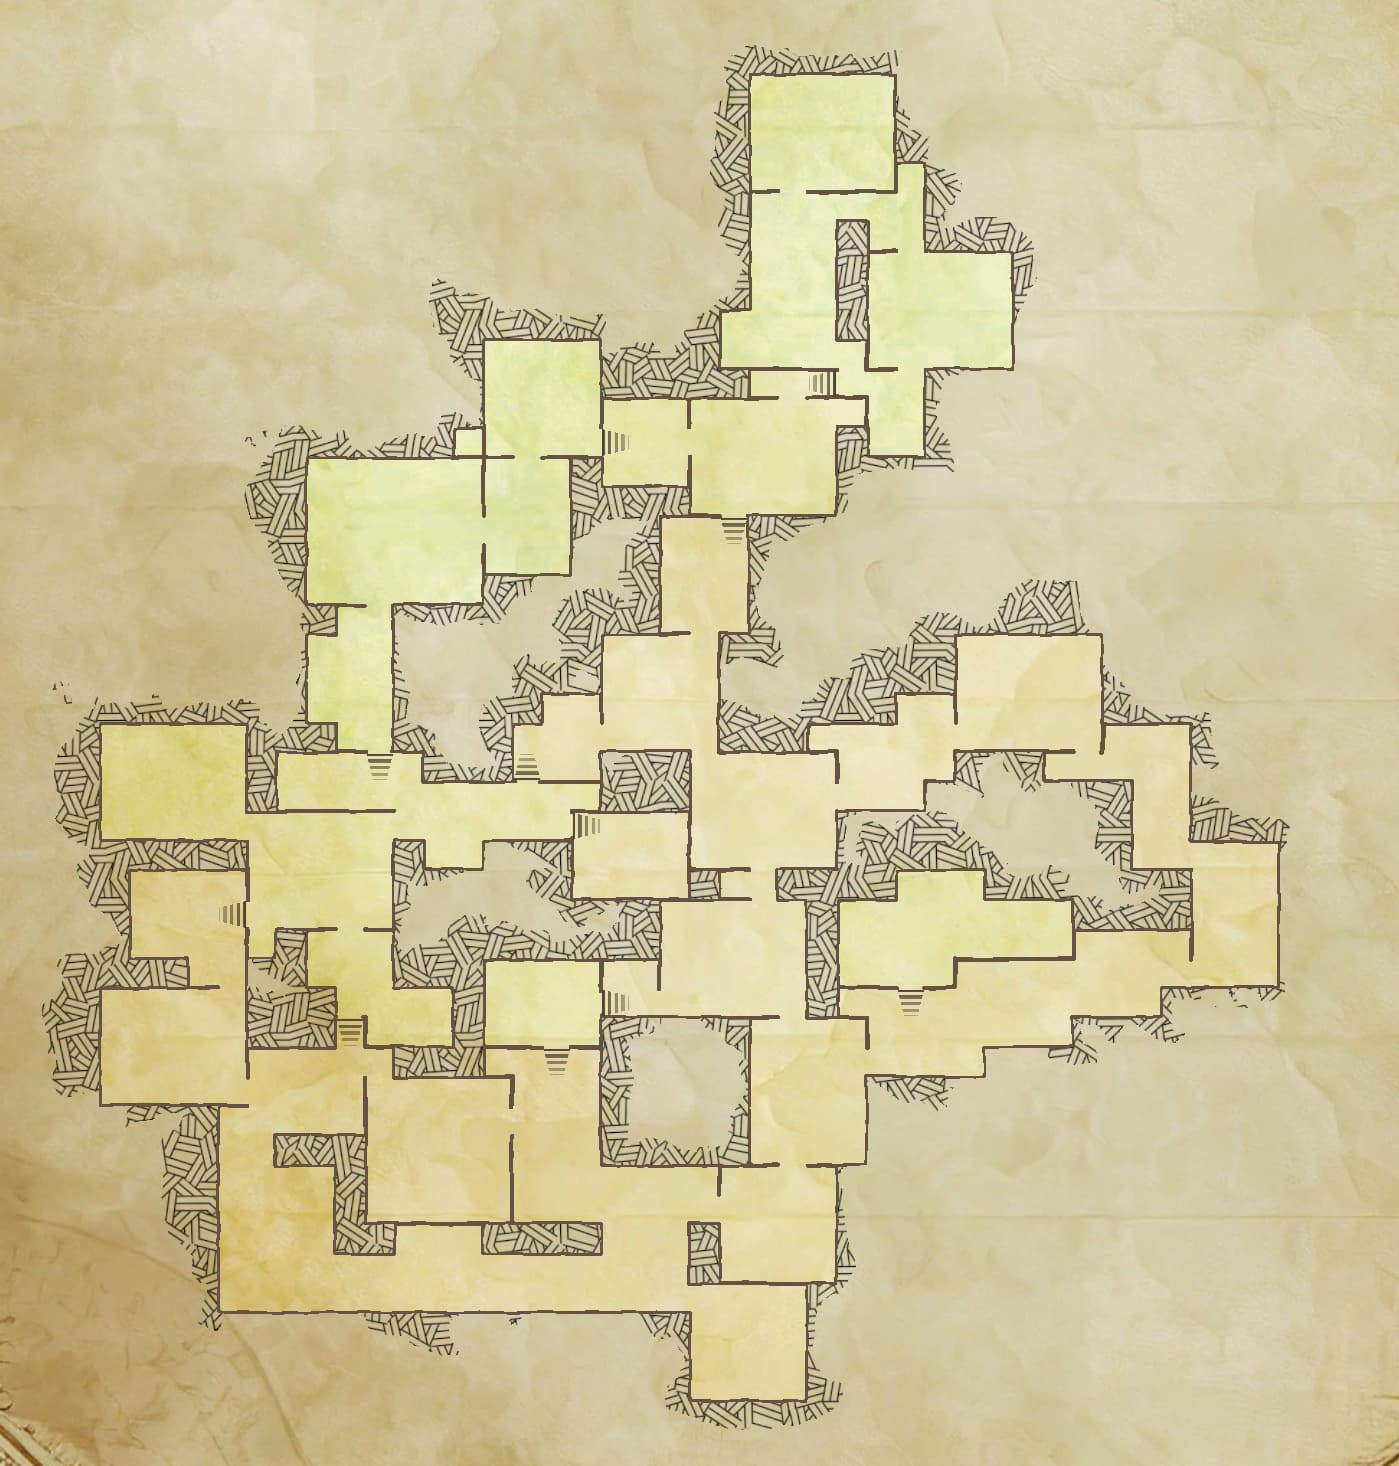
Browse through the various Dungeon Canvas samples under Dungeon Architect Content > Samples > DA_Canvas_Demo

In the following sections, we’ll look at how to setup a Dungeon Canvas and use it in our scenes.
Setup Dungeon Canvas
Setup UI
We need to show the minimap in your screen. Create a new UMG User widget (or open an existing one) and drag drop the Dungeon Canvas Widget on to the screen

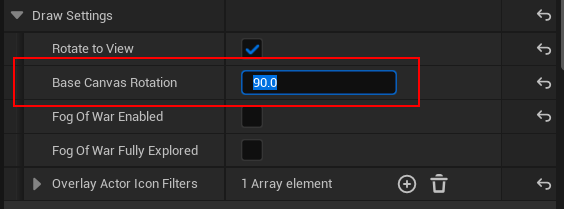
Select the widget and check the details panel . Expand the Draw Setttings:

You can control various settings from here:
Rotate to View: This will rotate the minimap and the player icon will be fixed. uncheck to keep the view fixed and have the player icon rotate

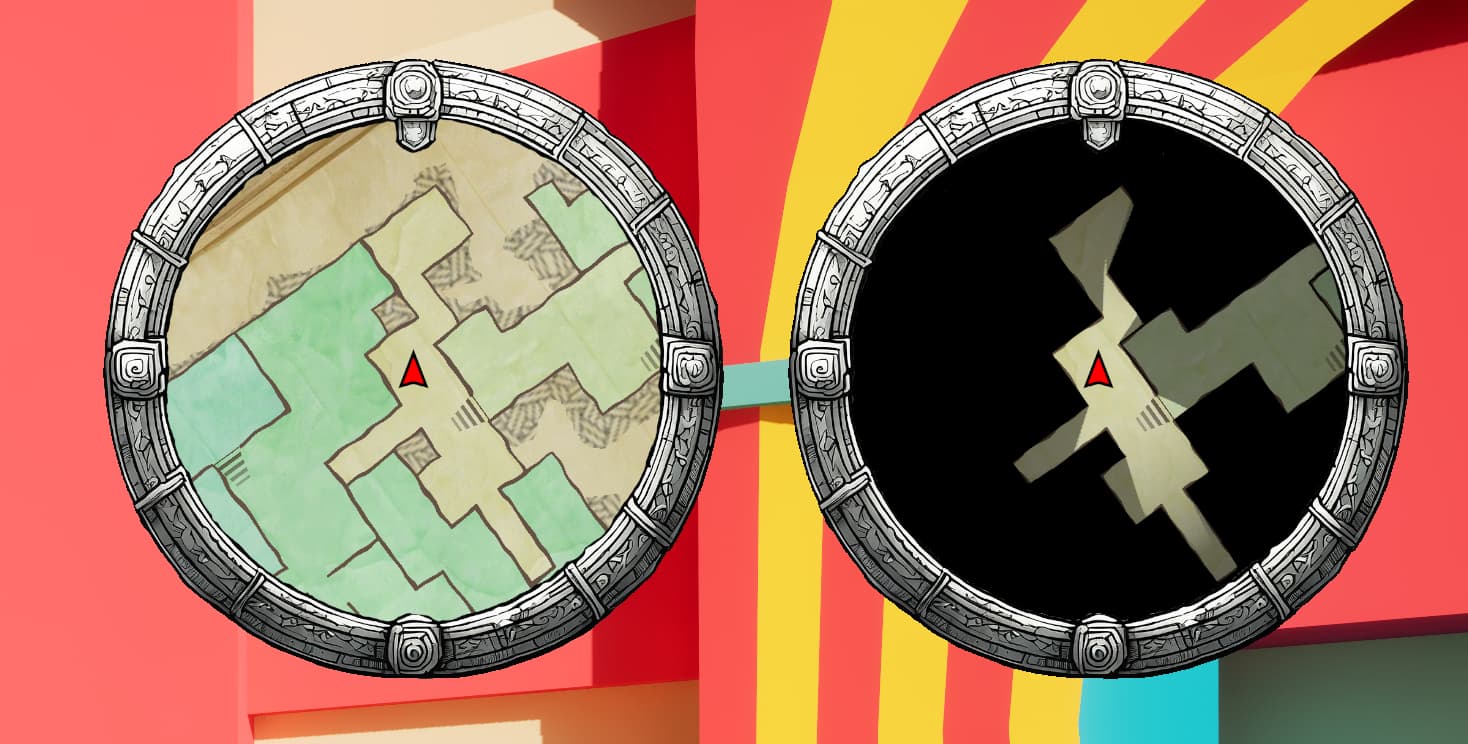
Base Canvas Rotation: You may want the whole view to be rotated by a certain amount. Unreal defaults to the character facing the X direction. so if this is 0, it looks like this with the rotate to view flag enabled (red player arrow always faces right and everything rotates around it):
![]()

If you want the arrow to face up (while the world rotates around it, rotate the whole view by 90

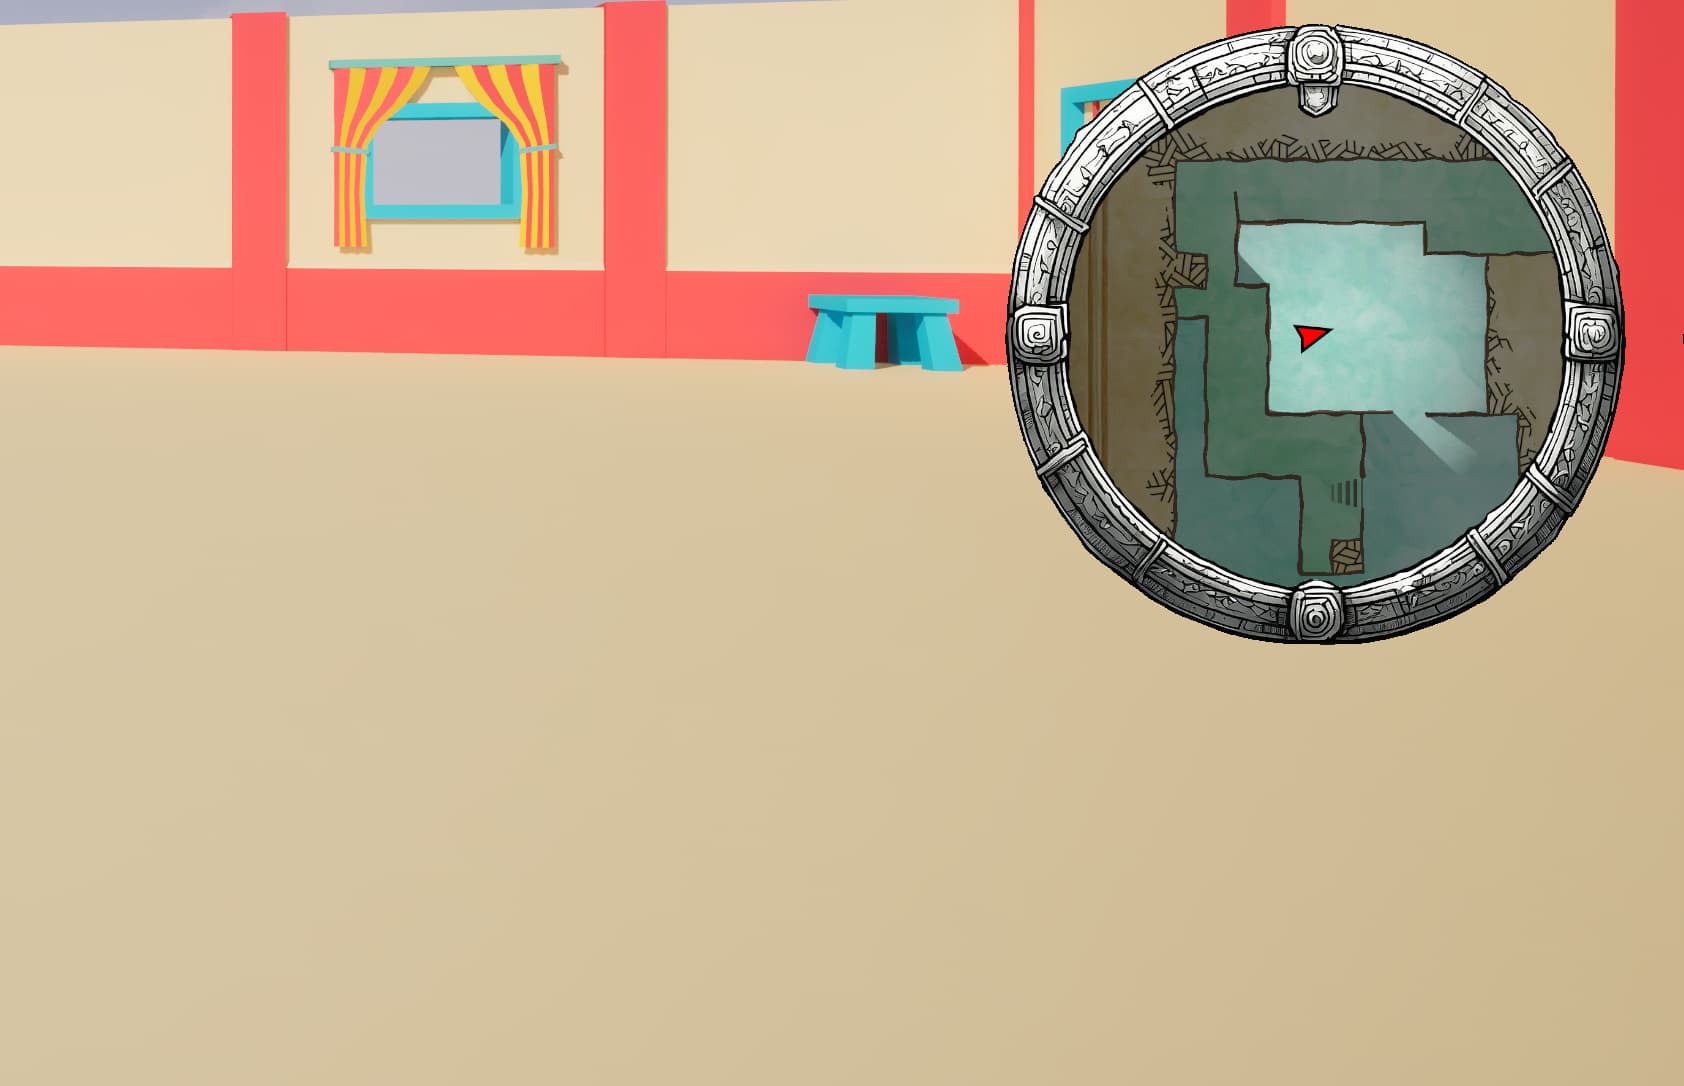
Fog of War Enabled: Check this to enable Fog of War. If you have this enabled, you need to setup your player to be a fog of war “explorer” so parts of the map can be made visible as you explore (more on that later below). You can have multiple explorers.
Fog of War Fully Explored: Enable this if you want the whole map explored. You may still enable fog of war to show the visible areas.
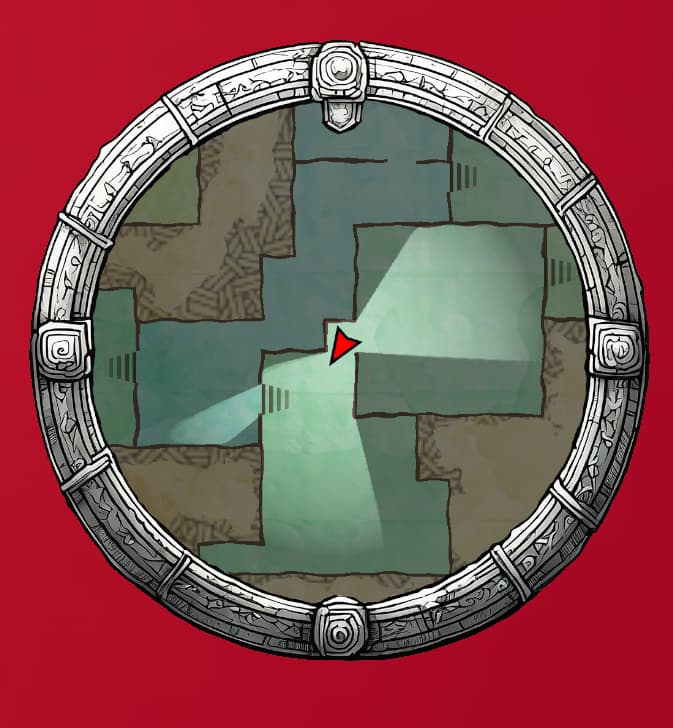
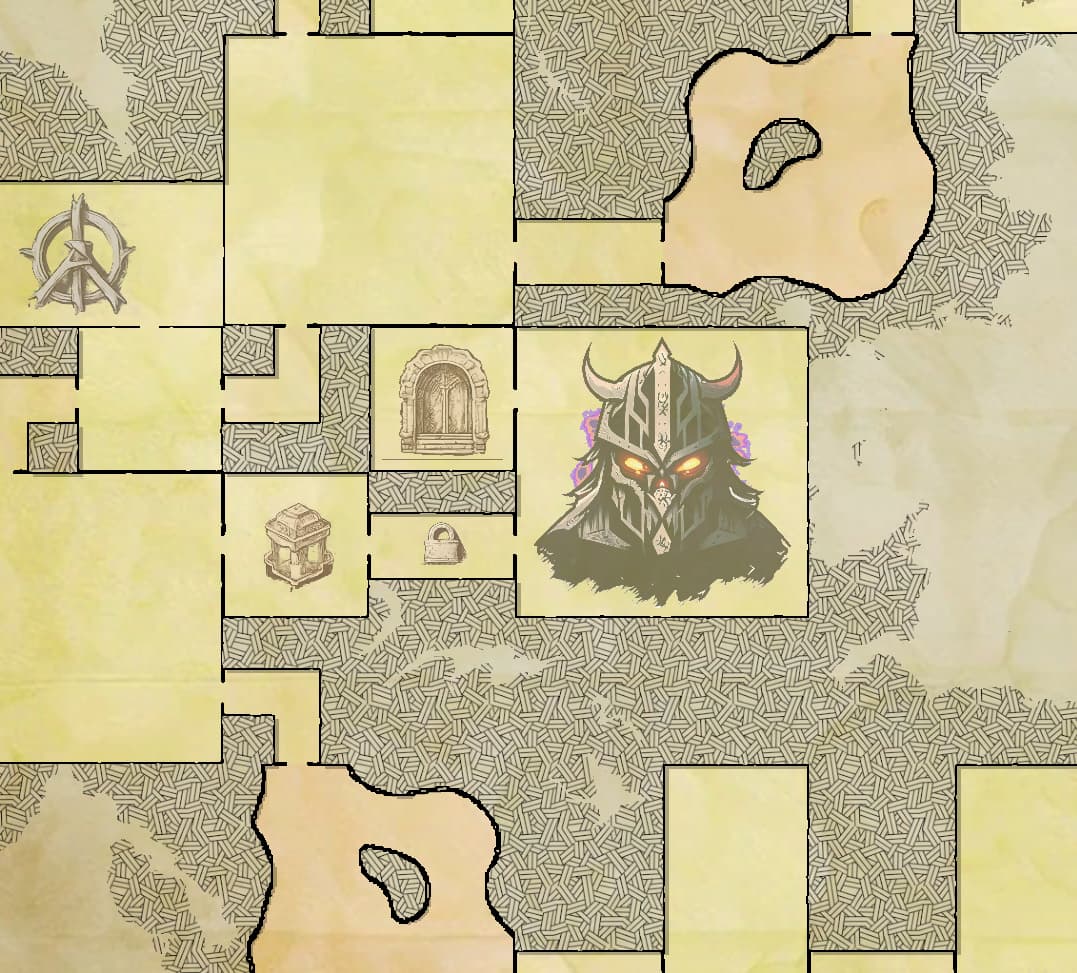
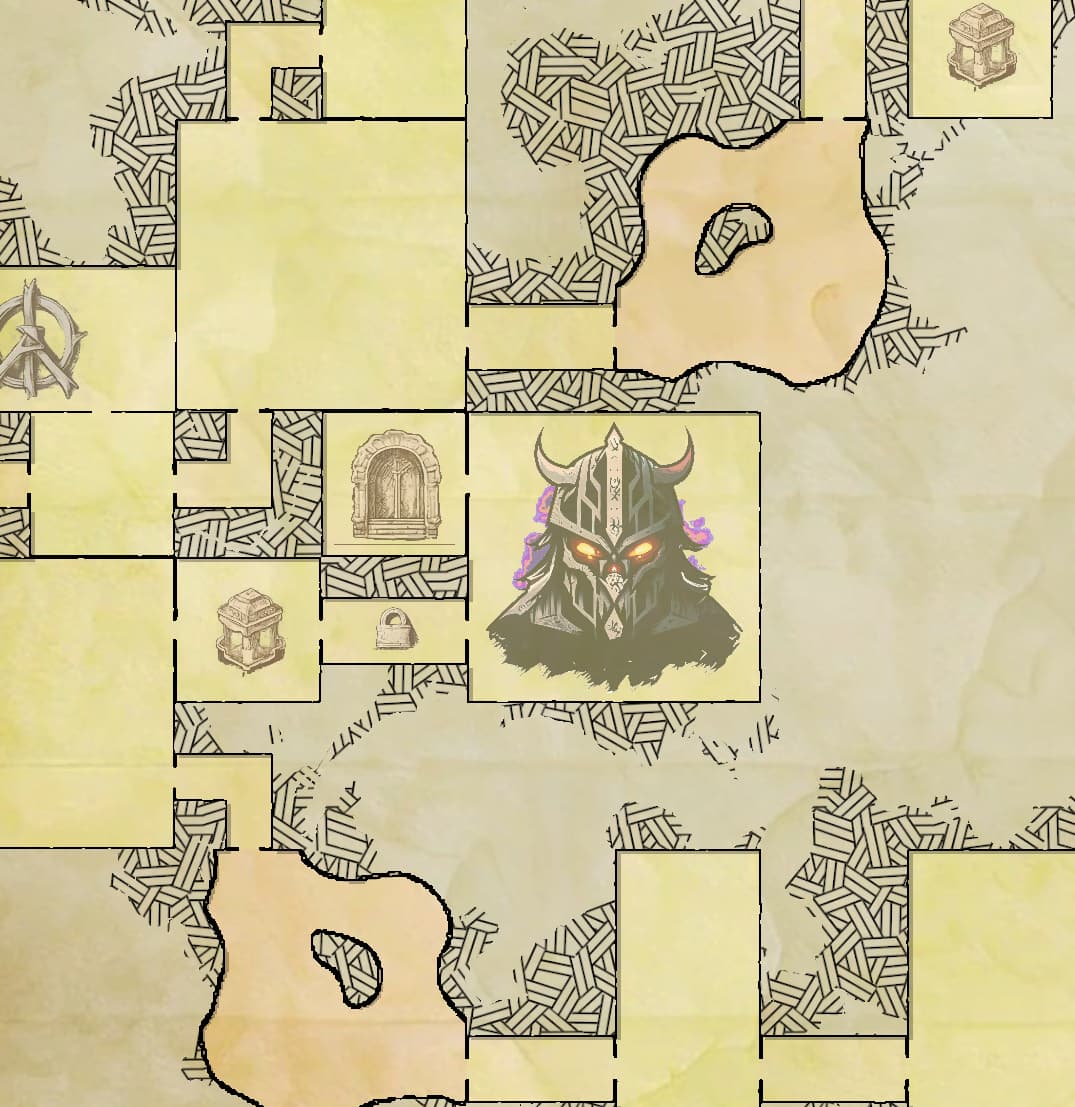
With and without Fog of War enabled:

Note: You can configure NPC icons to show up only on the visible (bright) areas
Setup Player controller
You’ll need a custom player controller to do two things:
- Create your HUD UI (if you don’t already have one)
- Register the possessed pawn as a fog of war explorer
Note: Check this sample player controller for reference:
DungeonArchitect Content > /Samples/DA_Canvas_Demo/Common/Blueprints/PlayerControllers/PC_CanvasDemo_Base
Create UI Widget
Open your player controller and create your UI widget and add to viewport

This will make the UI show up when your game starts. The Dungeon Canvas widget you placed in your UI will auto register itself when it constructs. So there’s no more setup required here on the UI side
Setup FogOfWar Explorerer and Camera Tracking
We want the minmap to focus the camera on the player’s icon (and move along wtith it). We also want to tell the system to have our player character explore the fog of war, so it gets visible as we move around the map. We do this with the Setup player function as shown below
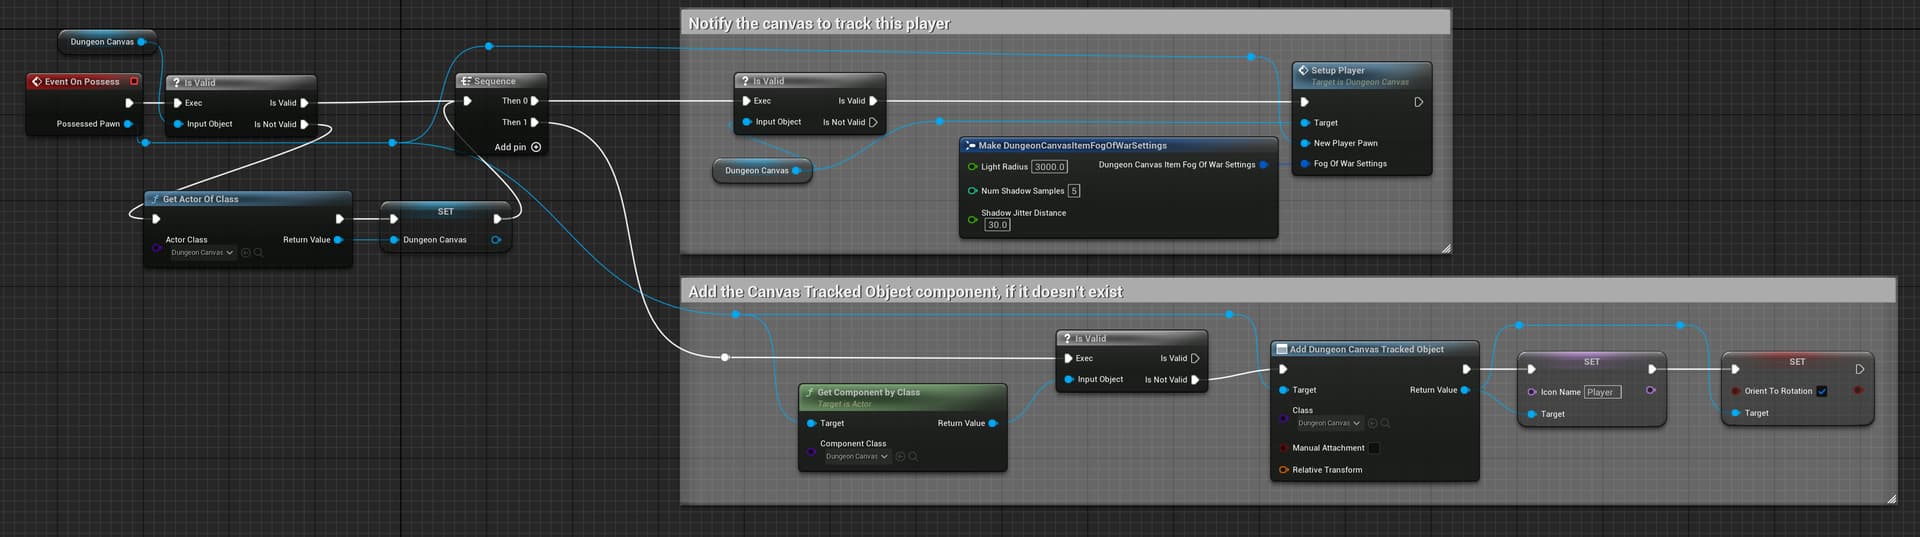
We also need an icon to represent the player. You can meke any actor in the scene show up in the minimap. You just need to add the DungeonCanvasTrackedObject componnet to it and give it the icon name and it will show up there.
Instead of manually adding the component to our character, we chose to dynamically add it here at runtime using the Add Component node
The component needs an icon name to draw in its place. We chose the name Player (it maps to the Red arrow icon you saw previously, you can change the icons, more on that later below)
With this the player controller setup is done.
Make sure your game mode uses this player controller so the above code gets invoked. You can do this from the world settings of your level or create a custom game mode and assign this player controller
Dungeon Canvas Asset
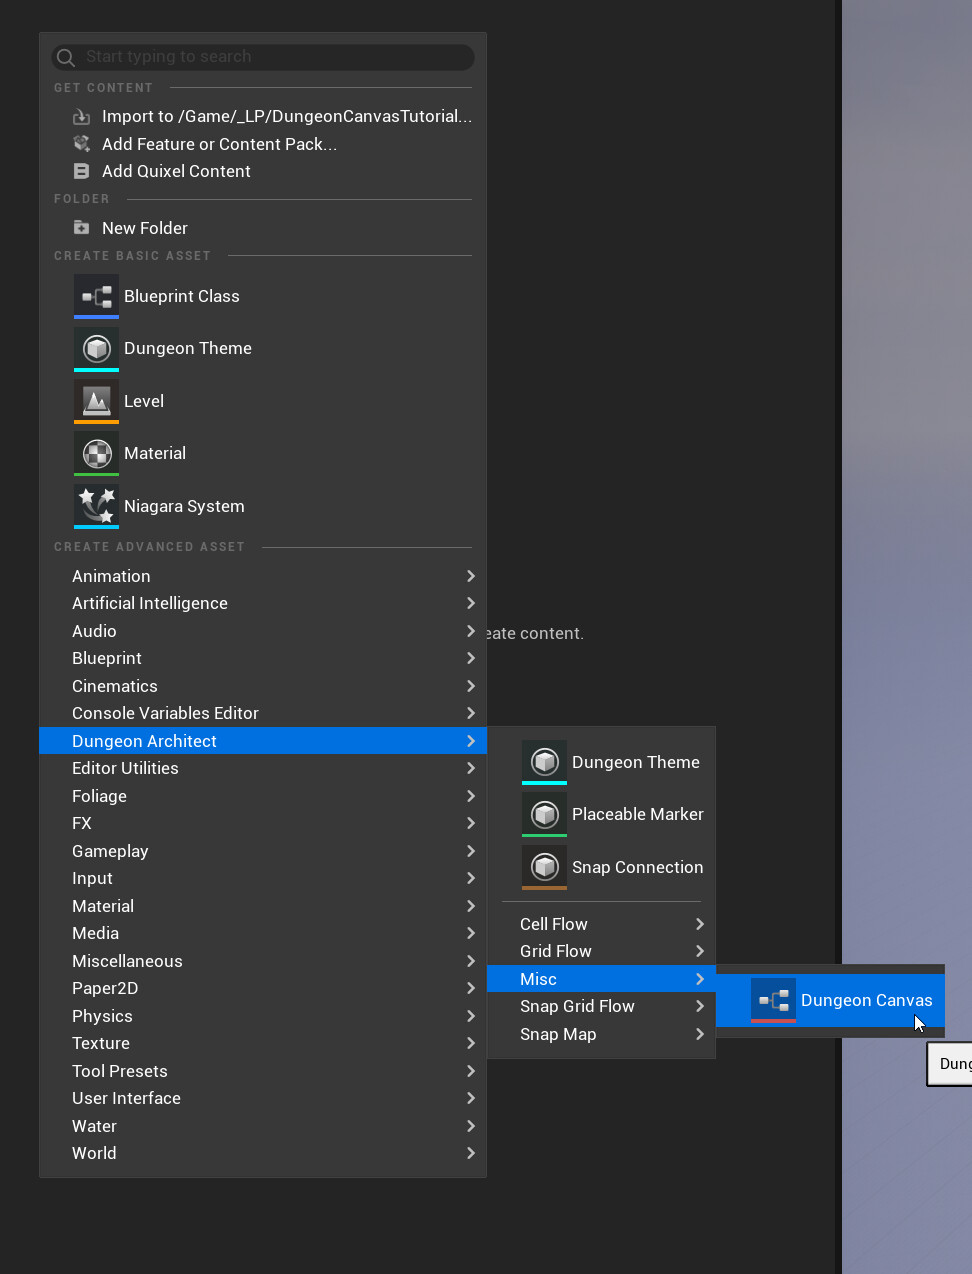
Create a dungeon canvas asset in the content browser
Double click the asset to open up the Dungeon Canvas Editor

The same dungeon canvas asset can be used for different types of dungeons (Grid, GridFlow, SGF, SnapMap, CellFlow etc). The preview shows the grid dungeon, you can change the preview by clicking the Preview Dungeon Settings button


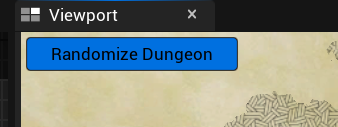
Click the Randomize Dungeon button to see how the dungeon looks with different layouts
Effects Layer
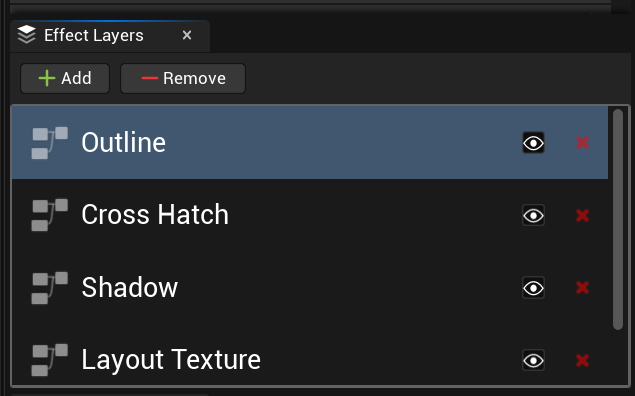
Use effect layers to design the look and feel of your dungeon. Select a layer, and modify any of its properties to see it change in real time in the preview viewport

Save the asset and close the editor
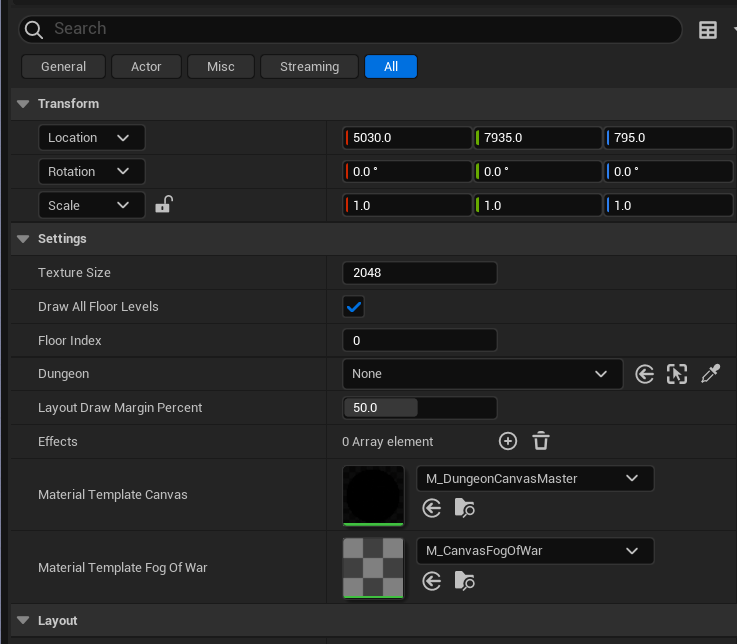
Dungeon Canvas Settings
Click the Canvas Settings icon on the toolbar

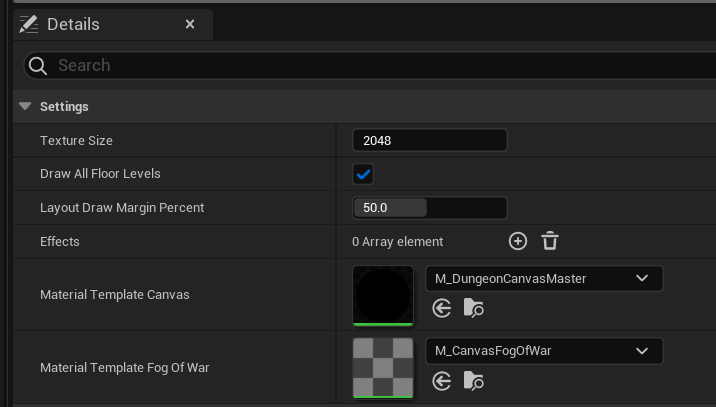
Texture Size: The backing texture size to use for rendering the minimap, fog of war etc.
Draw All Floor Levels: Uncheck this to hide the level floors the player is not on. These are great for overlapping levels like a multi-floor SGF map in the demo. If this is unchecked, the system will maintain a separate fog of war texture for each level (so that when we explore the lower floor, we don’t want to disturb the fog of war on the upper floors)
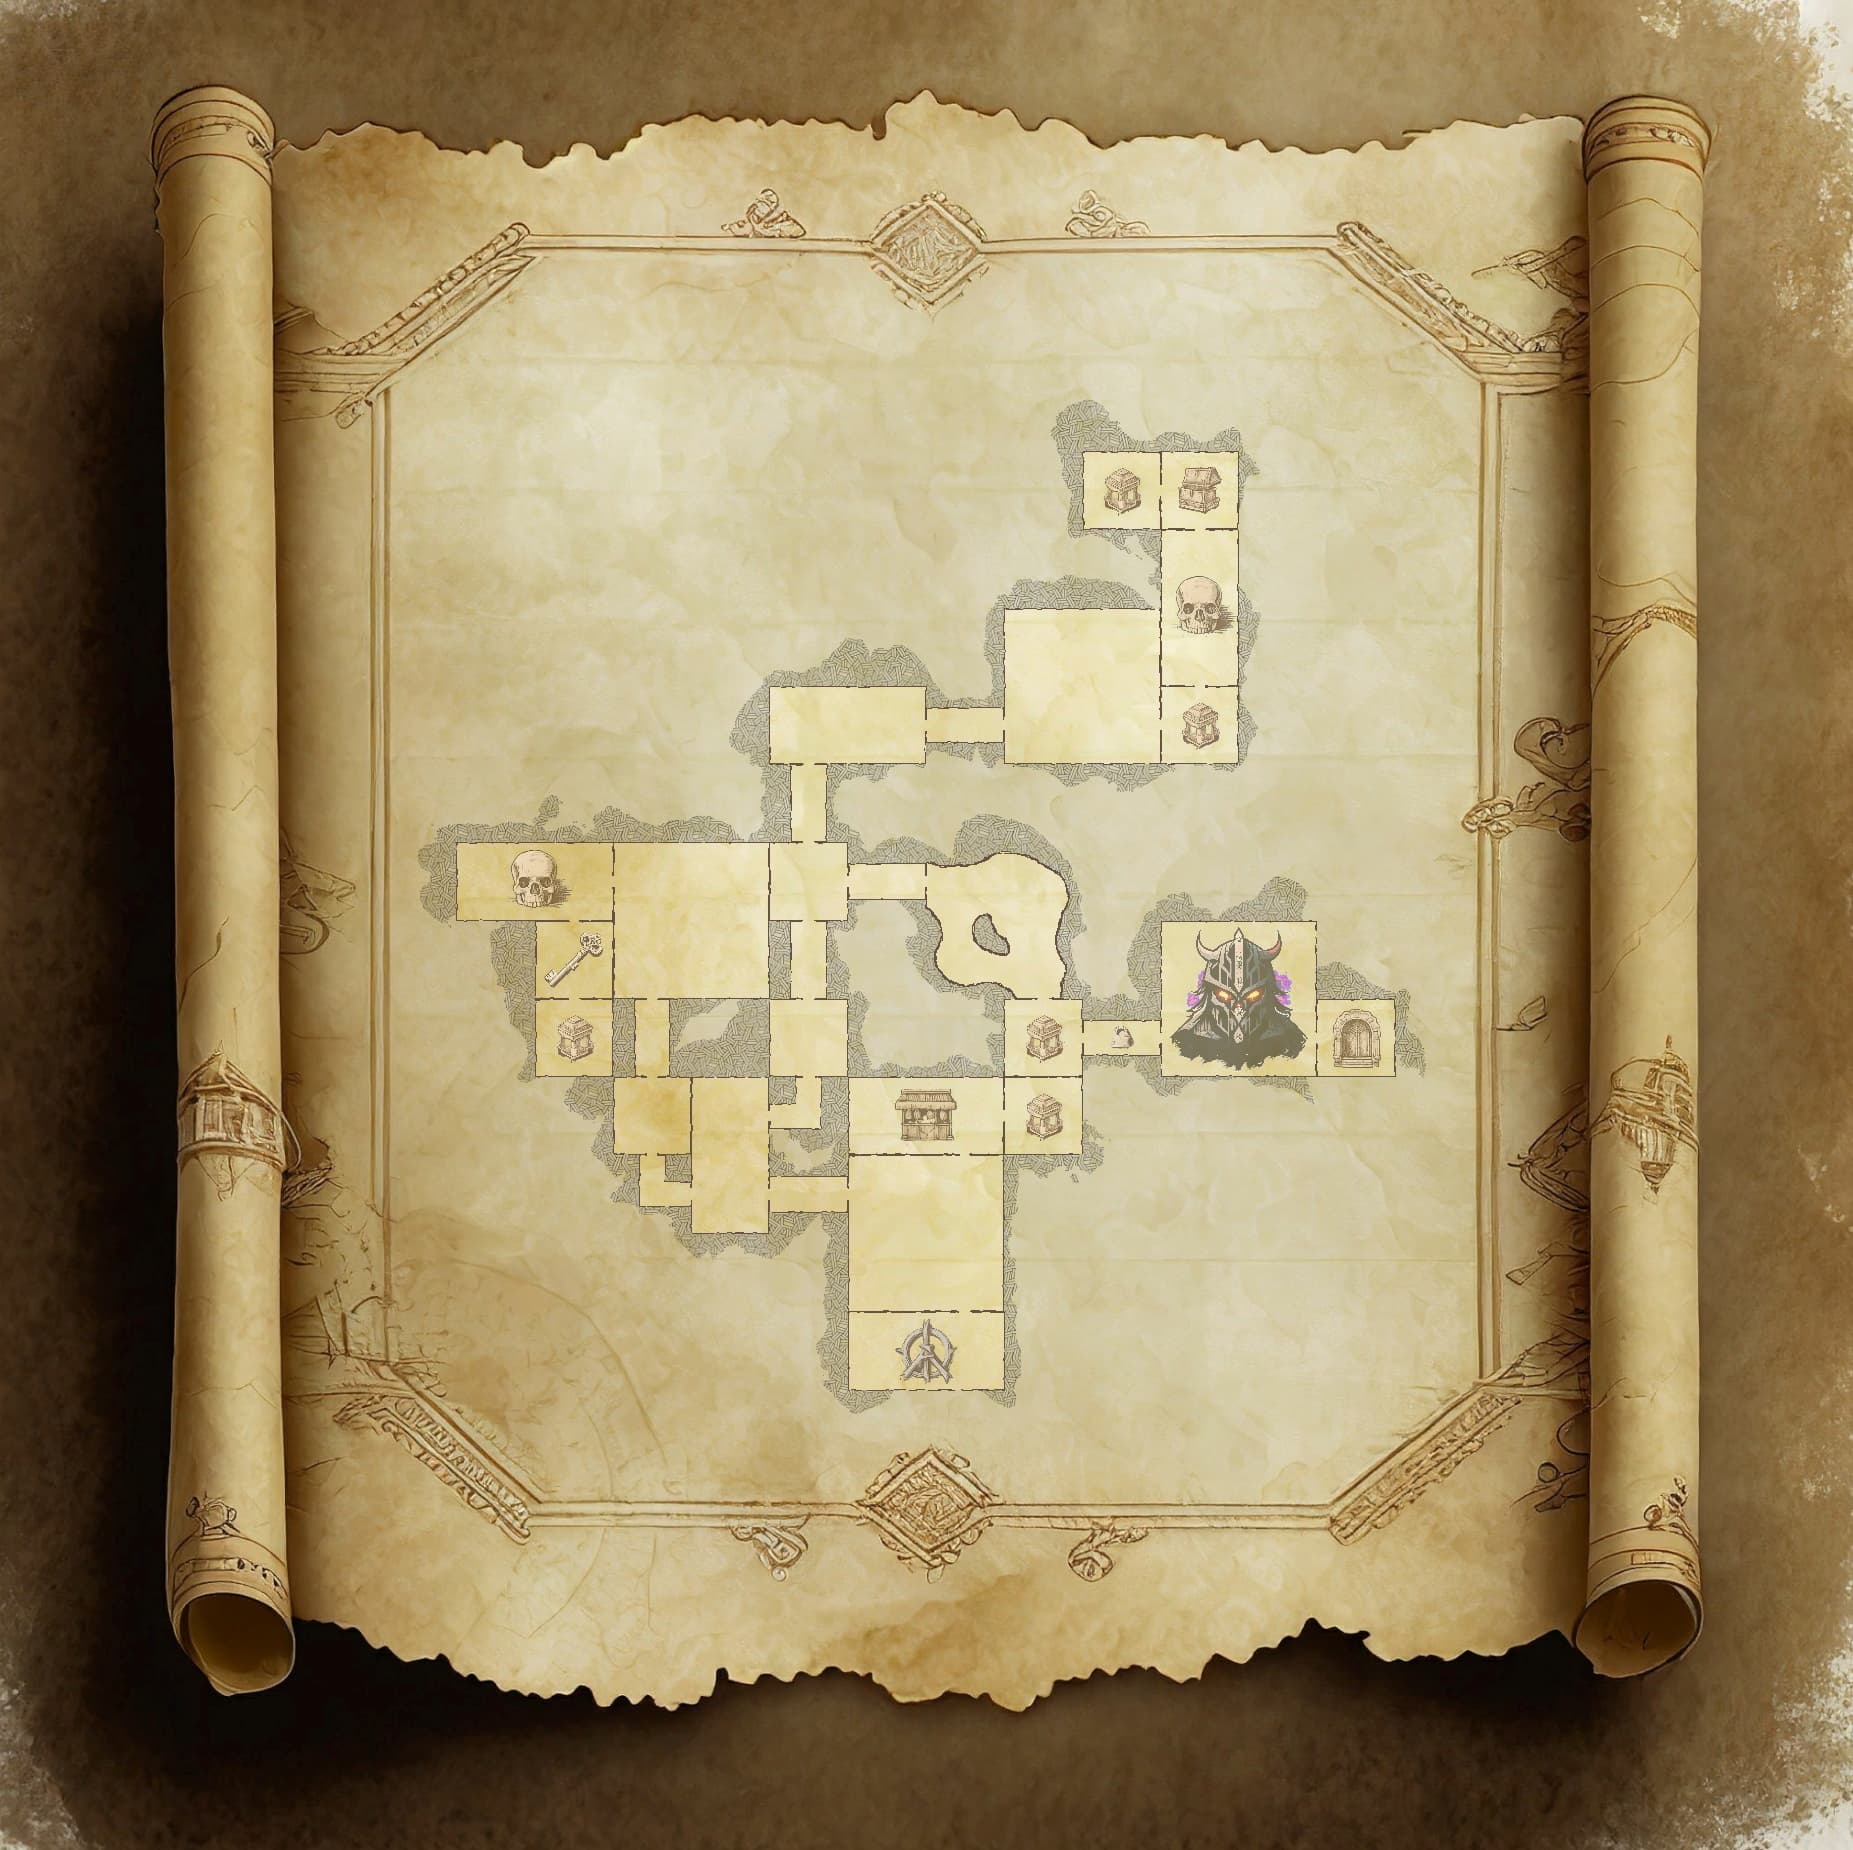
Layout Draw Margin Percent: Specify how much percentage padding you’d like to apply around the border. This depends on your art style. A value of 0% looks like this:

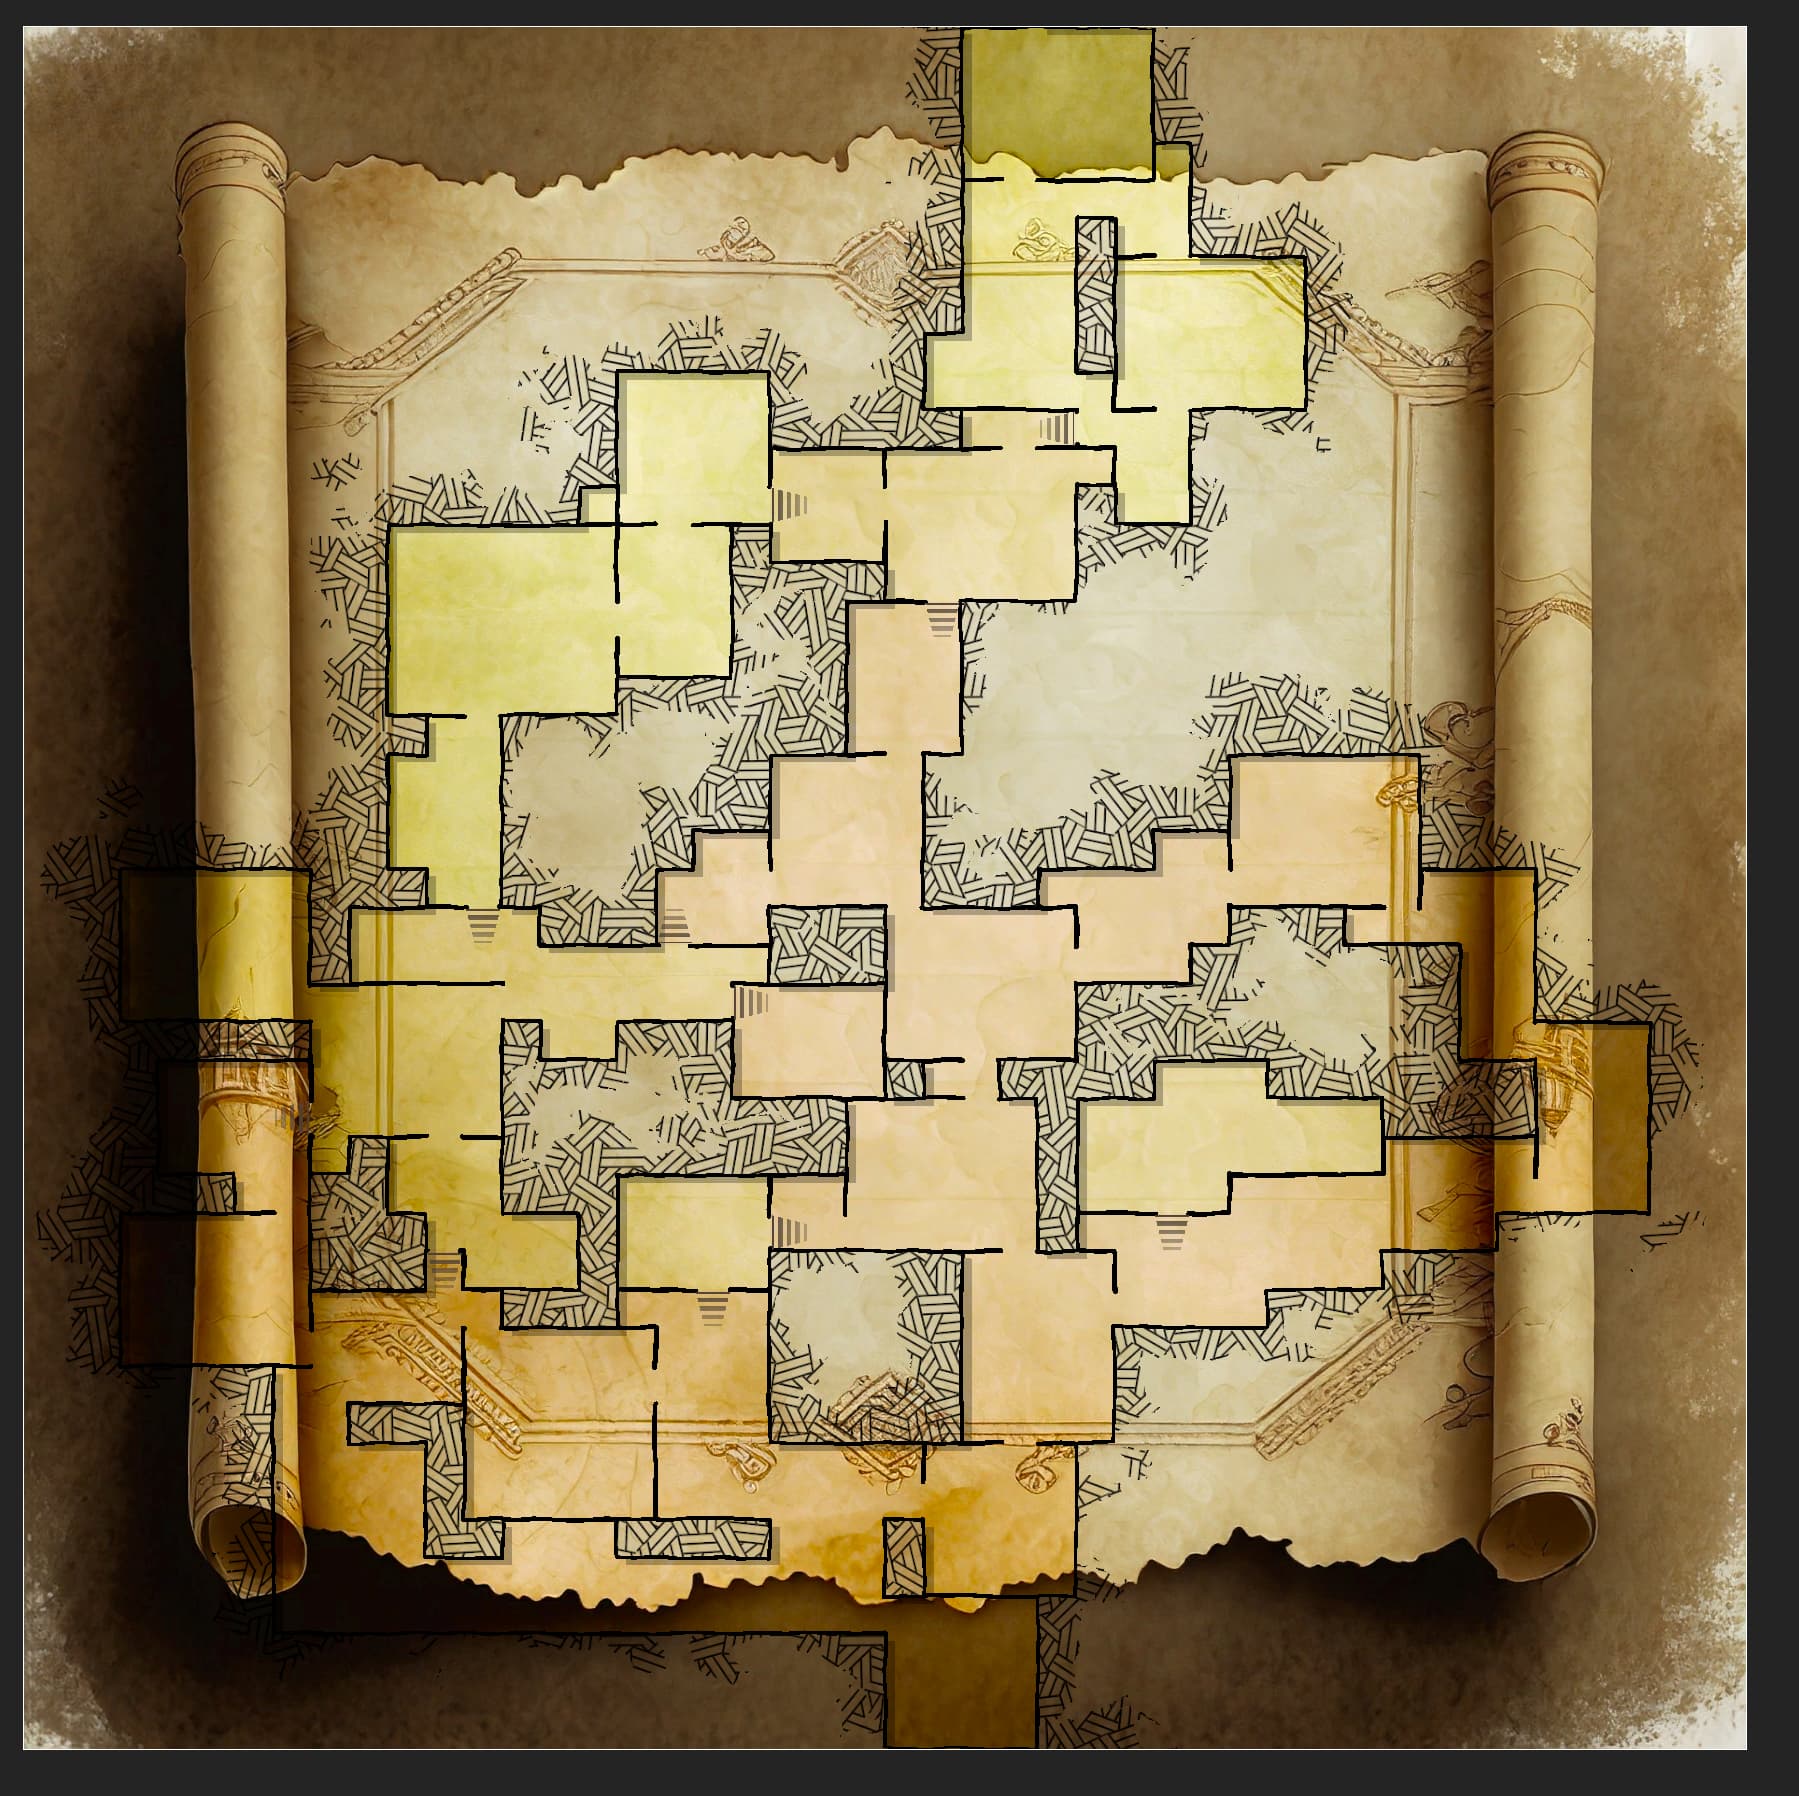
We have a certain background and want the dungeon to fit within it. So we’ll give it a value of 50. Adjust it according to your needs
![]()

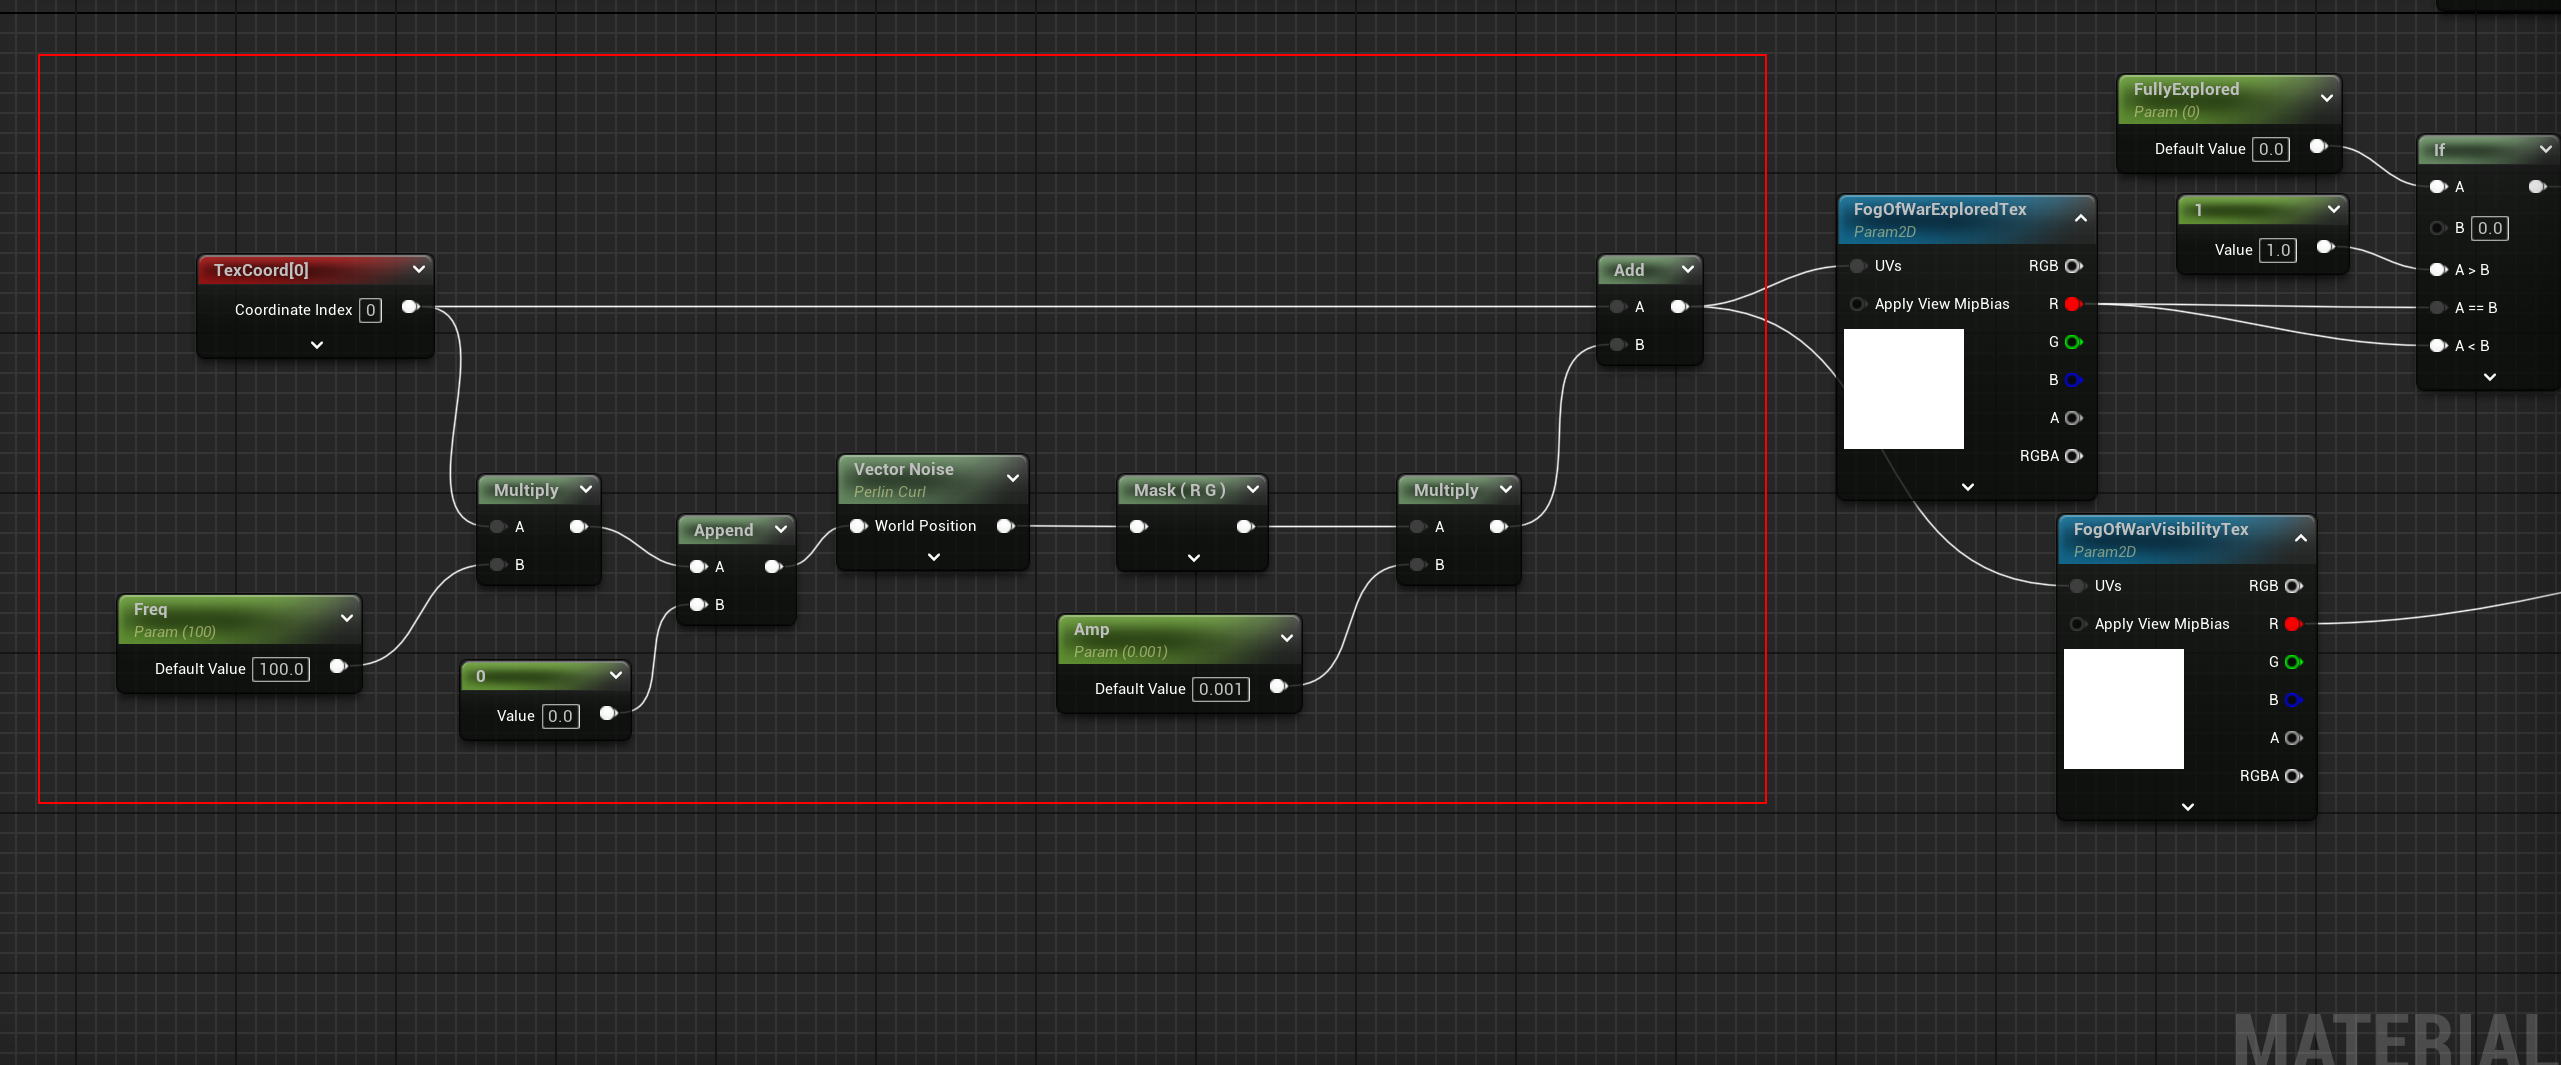
Effects: You can extend the system with your own advanced effects on top of it and manage the lifecycle of your custom textures yourself. We use this to create voronoi maps on top of the dungeon and create an effect like this, where the size of the voronoi cell changes based on how close it is to the dungeon border. This will be covered in detail in another section
Material Template Canvas: Change the master cavnas material, we won’t change this, so leave it to the default value
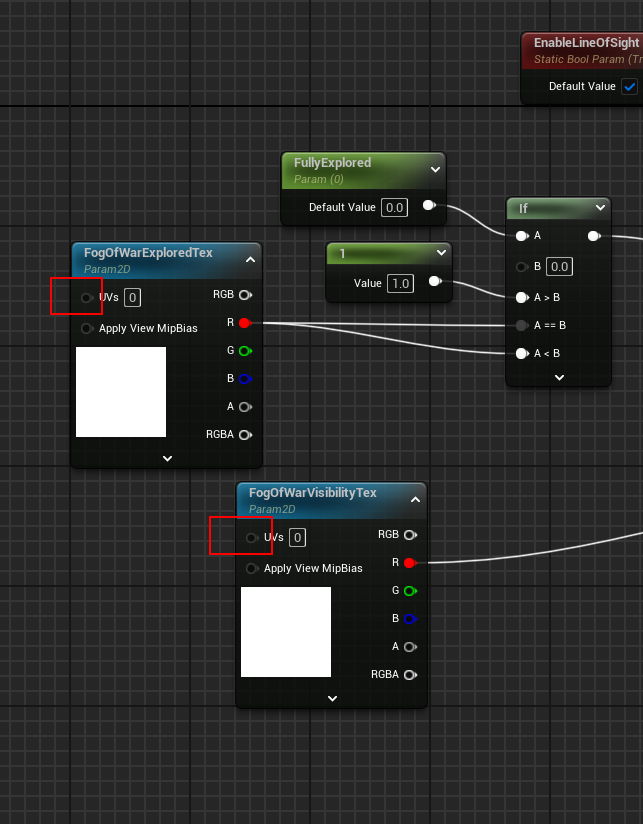
Material Template Fog of War: Provide your own custom fog of war material. Your custom material can change the color, texture etc. (see below for a custom implementation)
Dungeon Canvas Actor
Drag drop this asset on to the scene. This will create your dungeon canvas actor. You usually need only one of these on the scene, even if you use mulitple minimaps with different configurations
Select the Dungeon Canvas actor in the scene and have a look at the properties. These are the same as before but you get to modify them on a per-instance basis.
On an instance, you see a new property:
Dungeon: This takes in a dungeon actor reference. You may leave it blank and it will pick up the first dungeon actor it finds on the scene and use it’s layout information to build the minimap
'Make sure you’ve setup your game mode to use the player controller you’ve setup above. Set the game mode for this level and hit play